Step 1
Connect power & start your device

1. Connect the power cable to the back of the device.
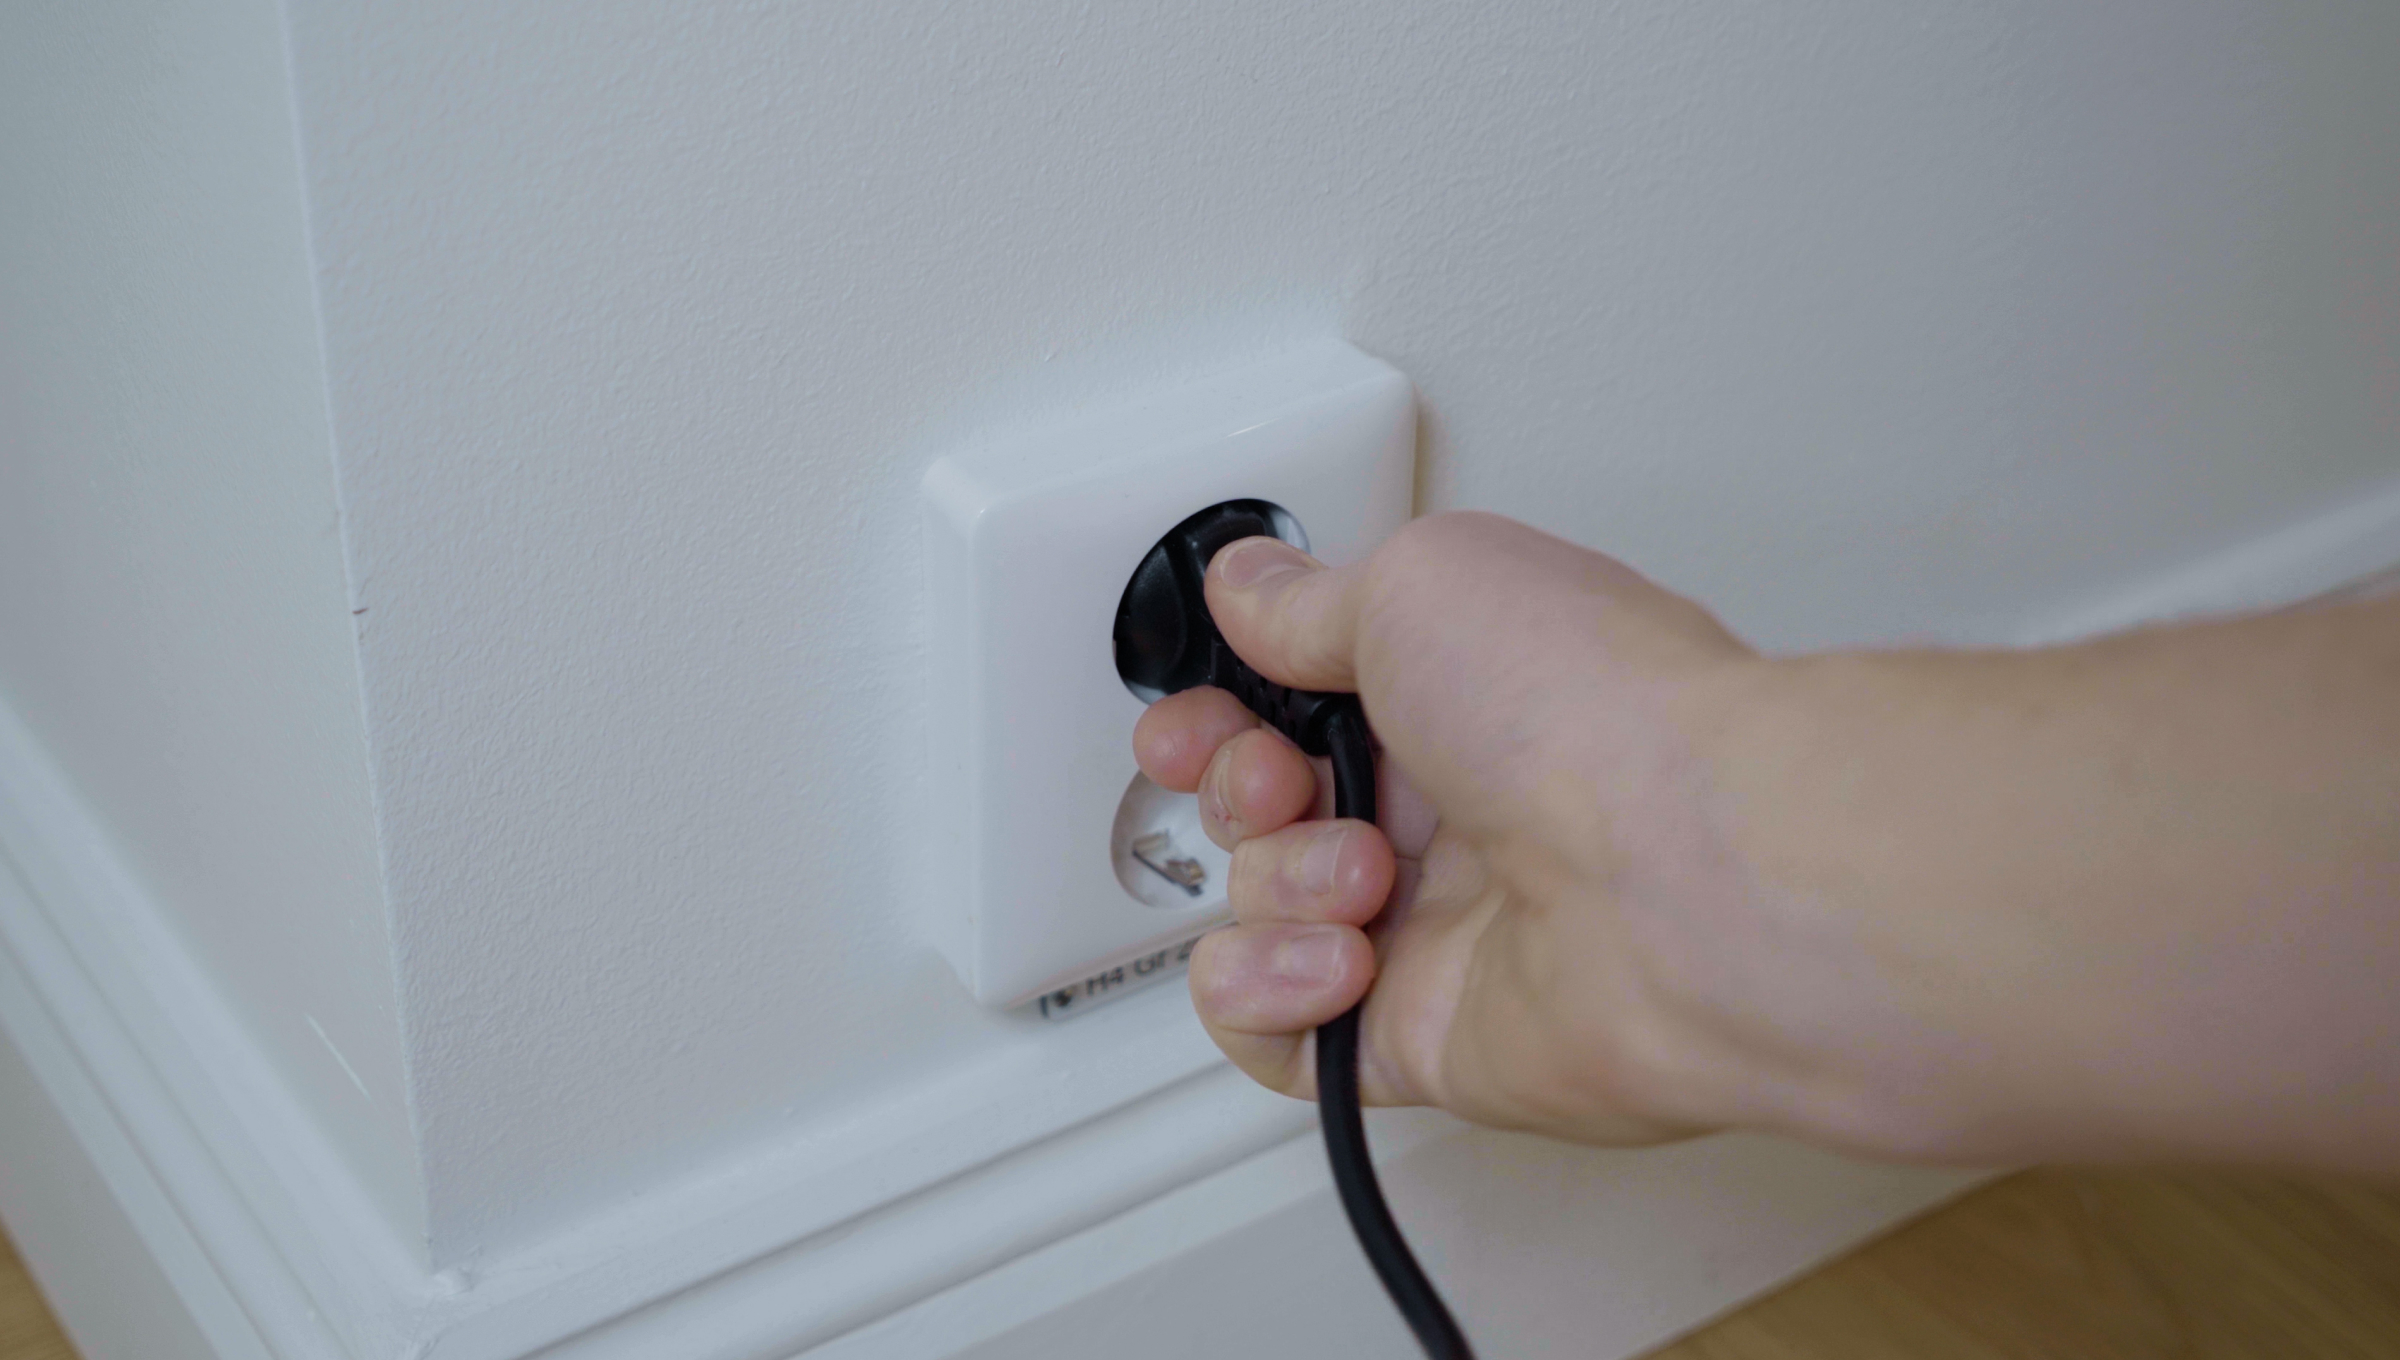
2. Plug it into a power outlet.
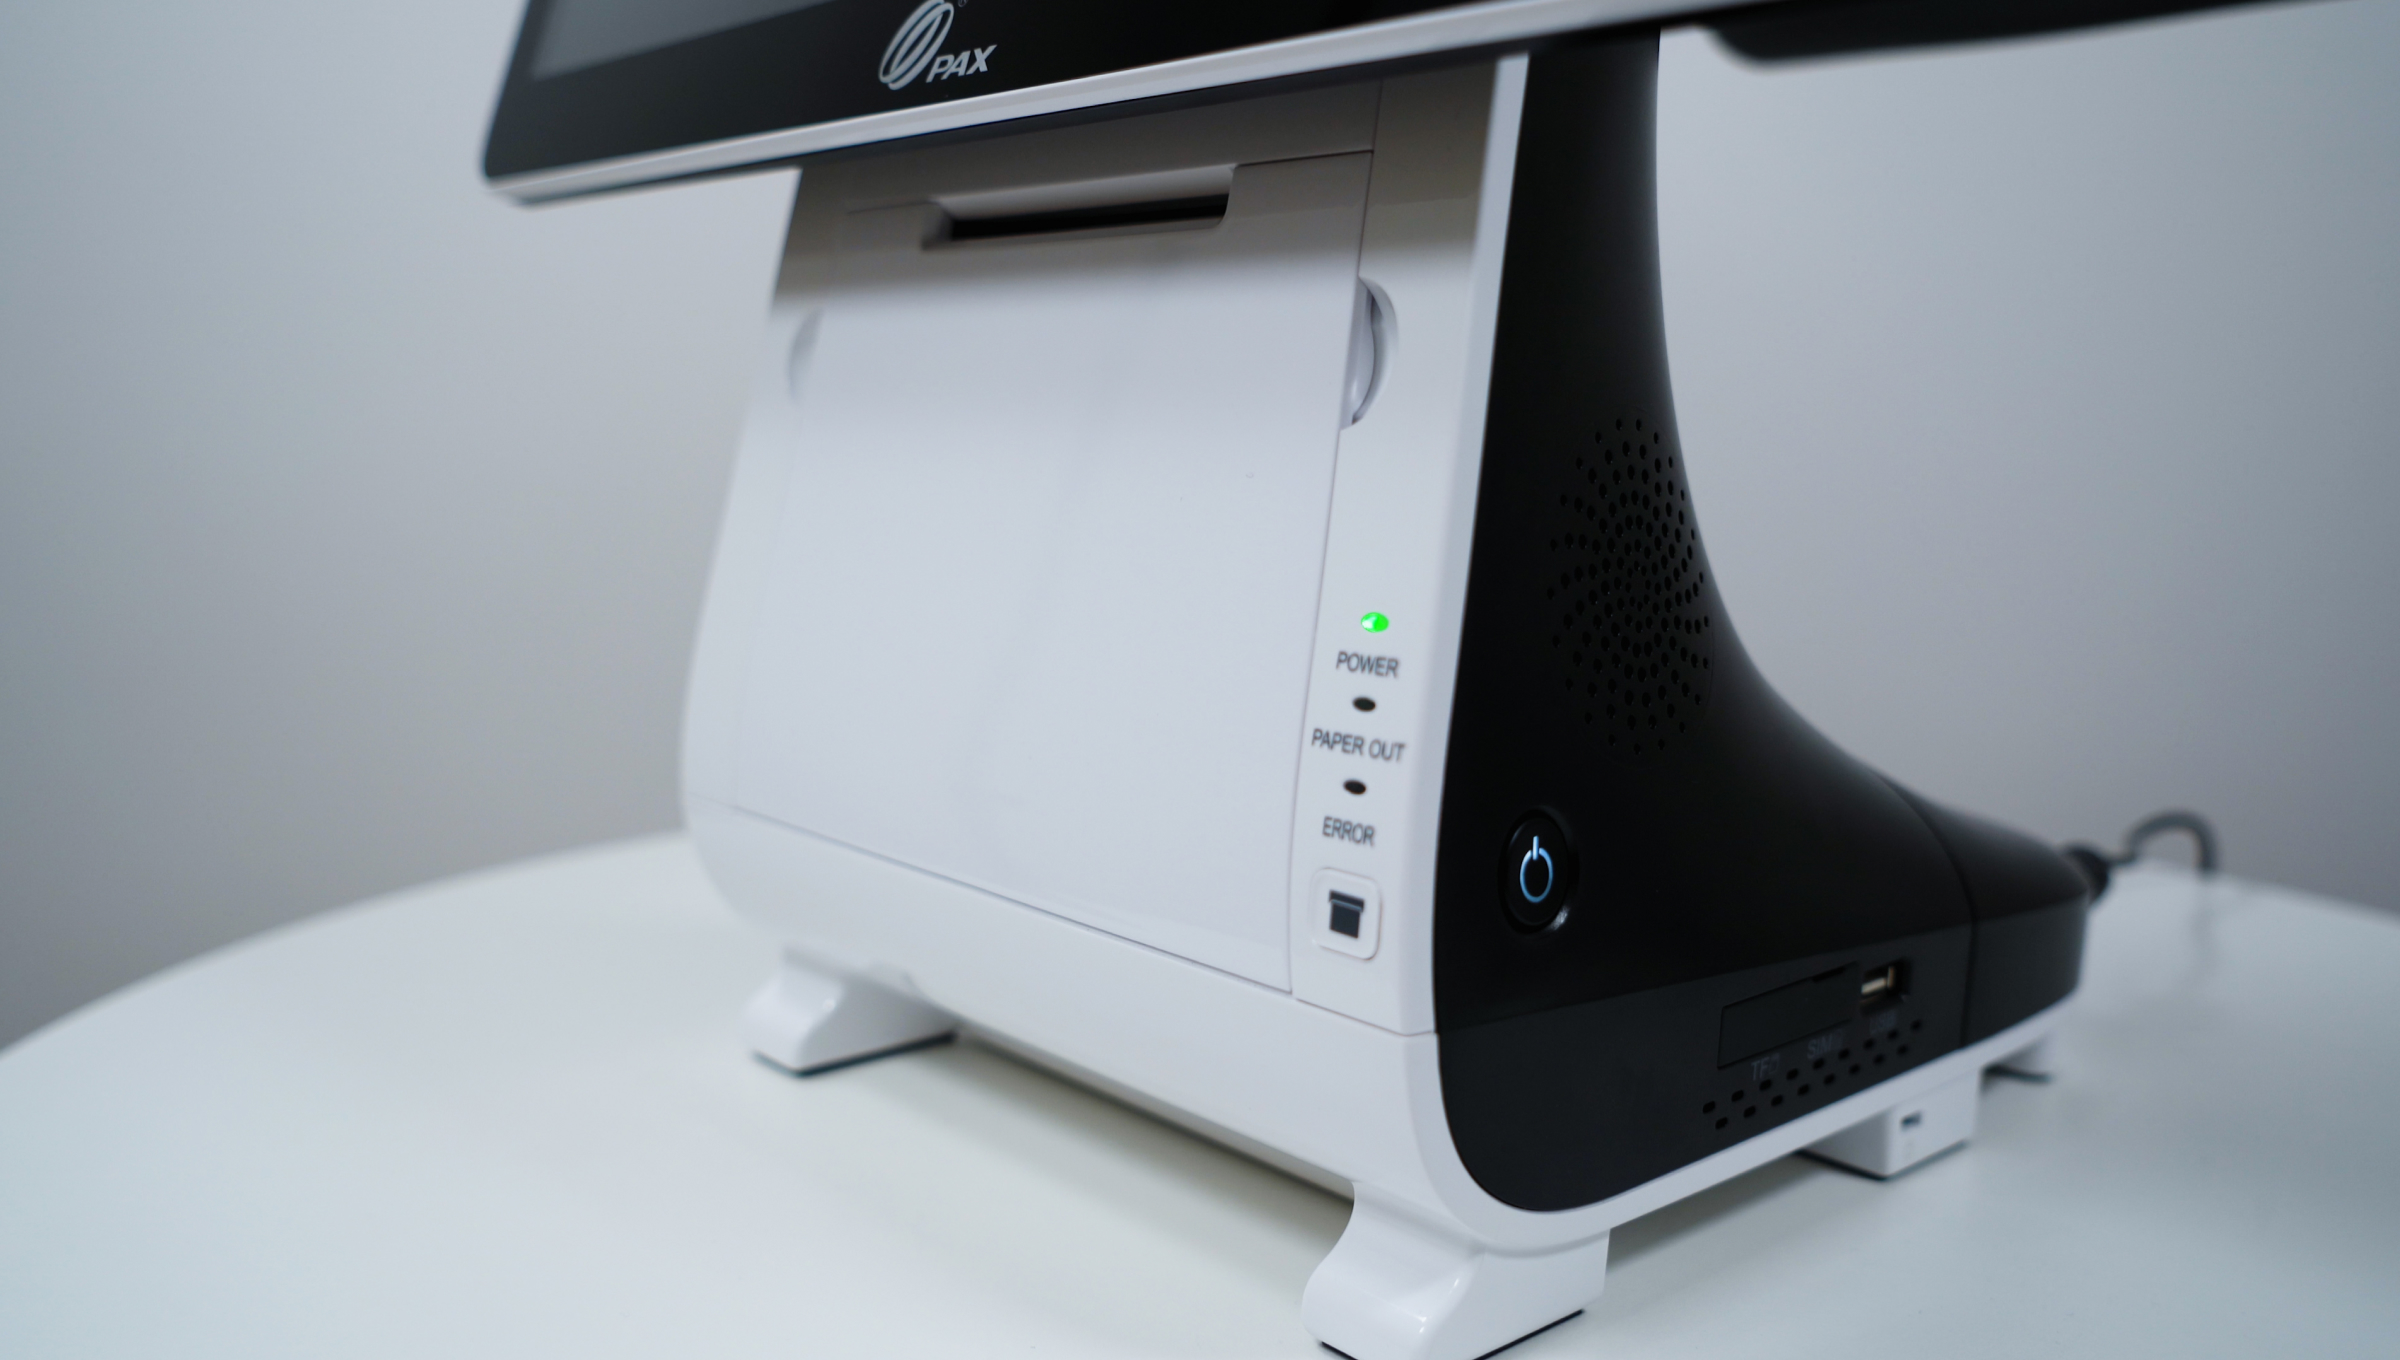
3. Press the Power button on the right side to start the device.
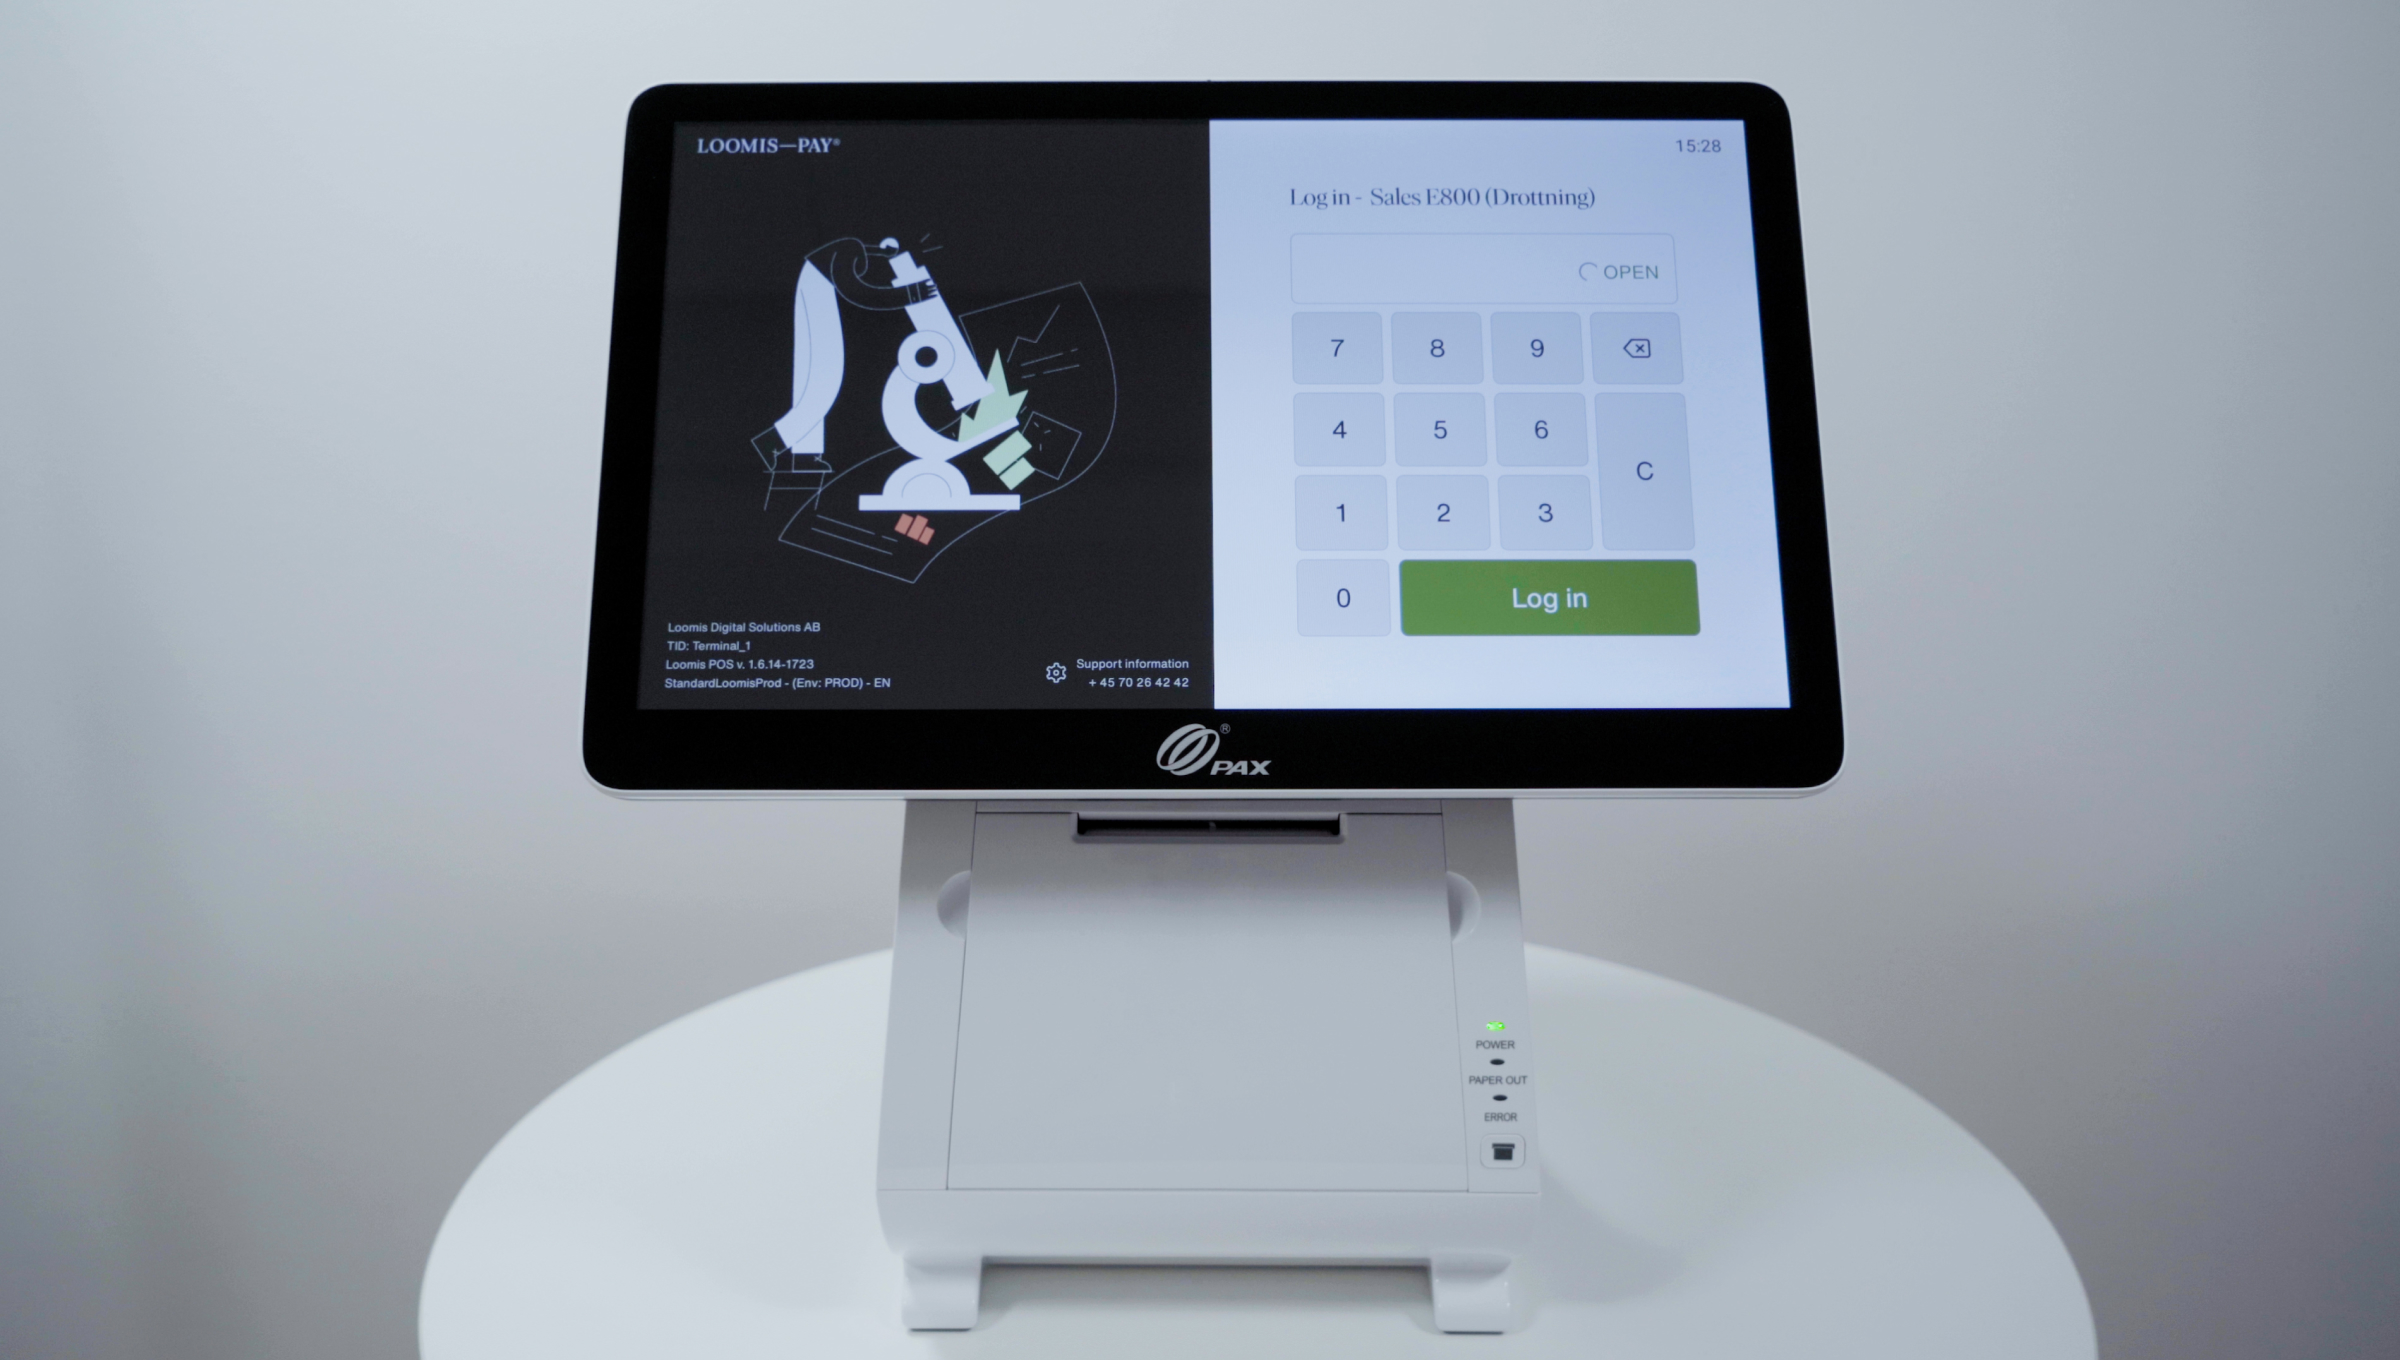
4. The Loomis–Pay app will start automatically once the device has booted up.
Step 2
Connect device to WiFi
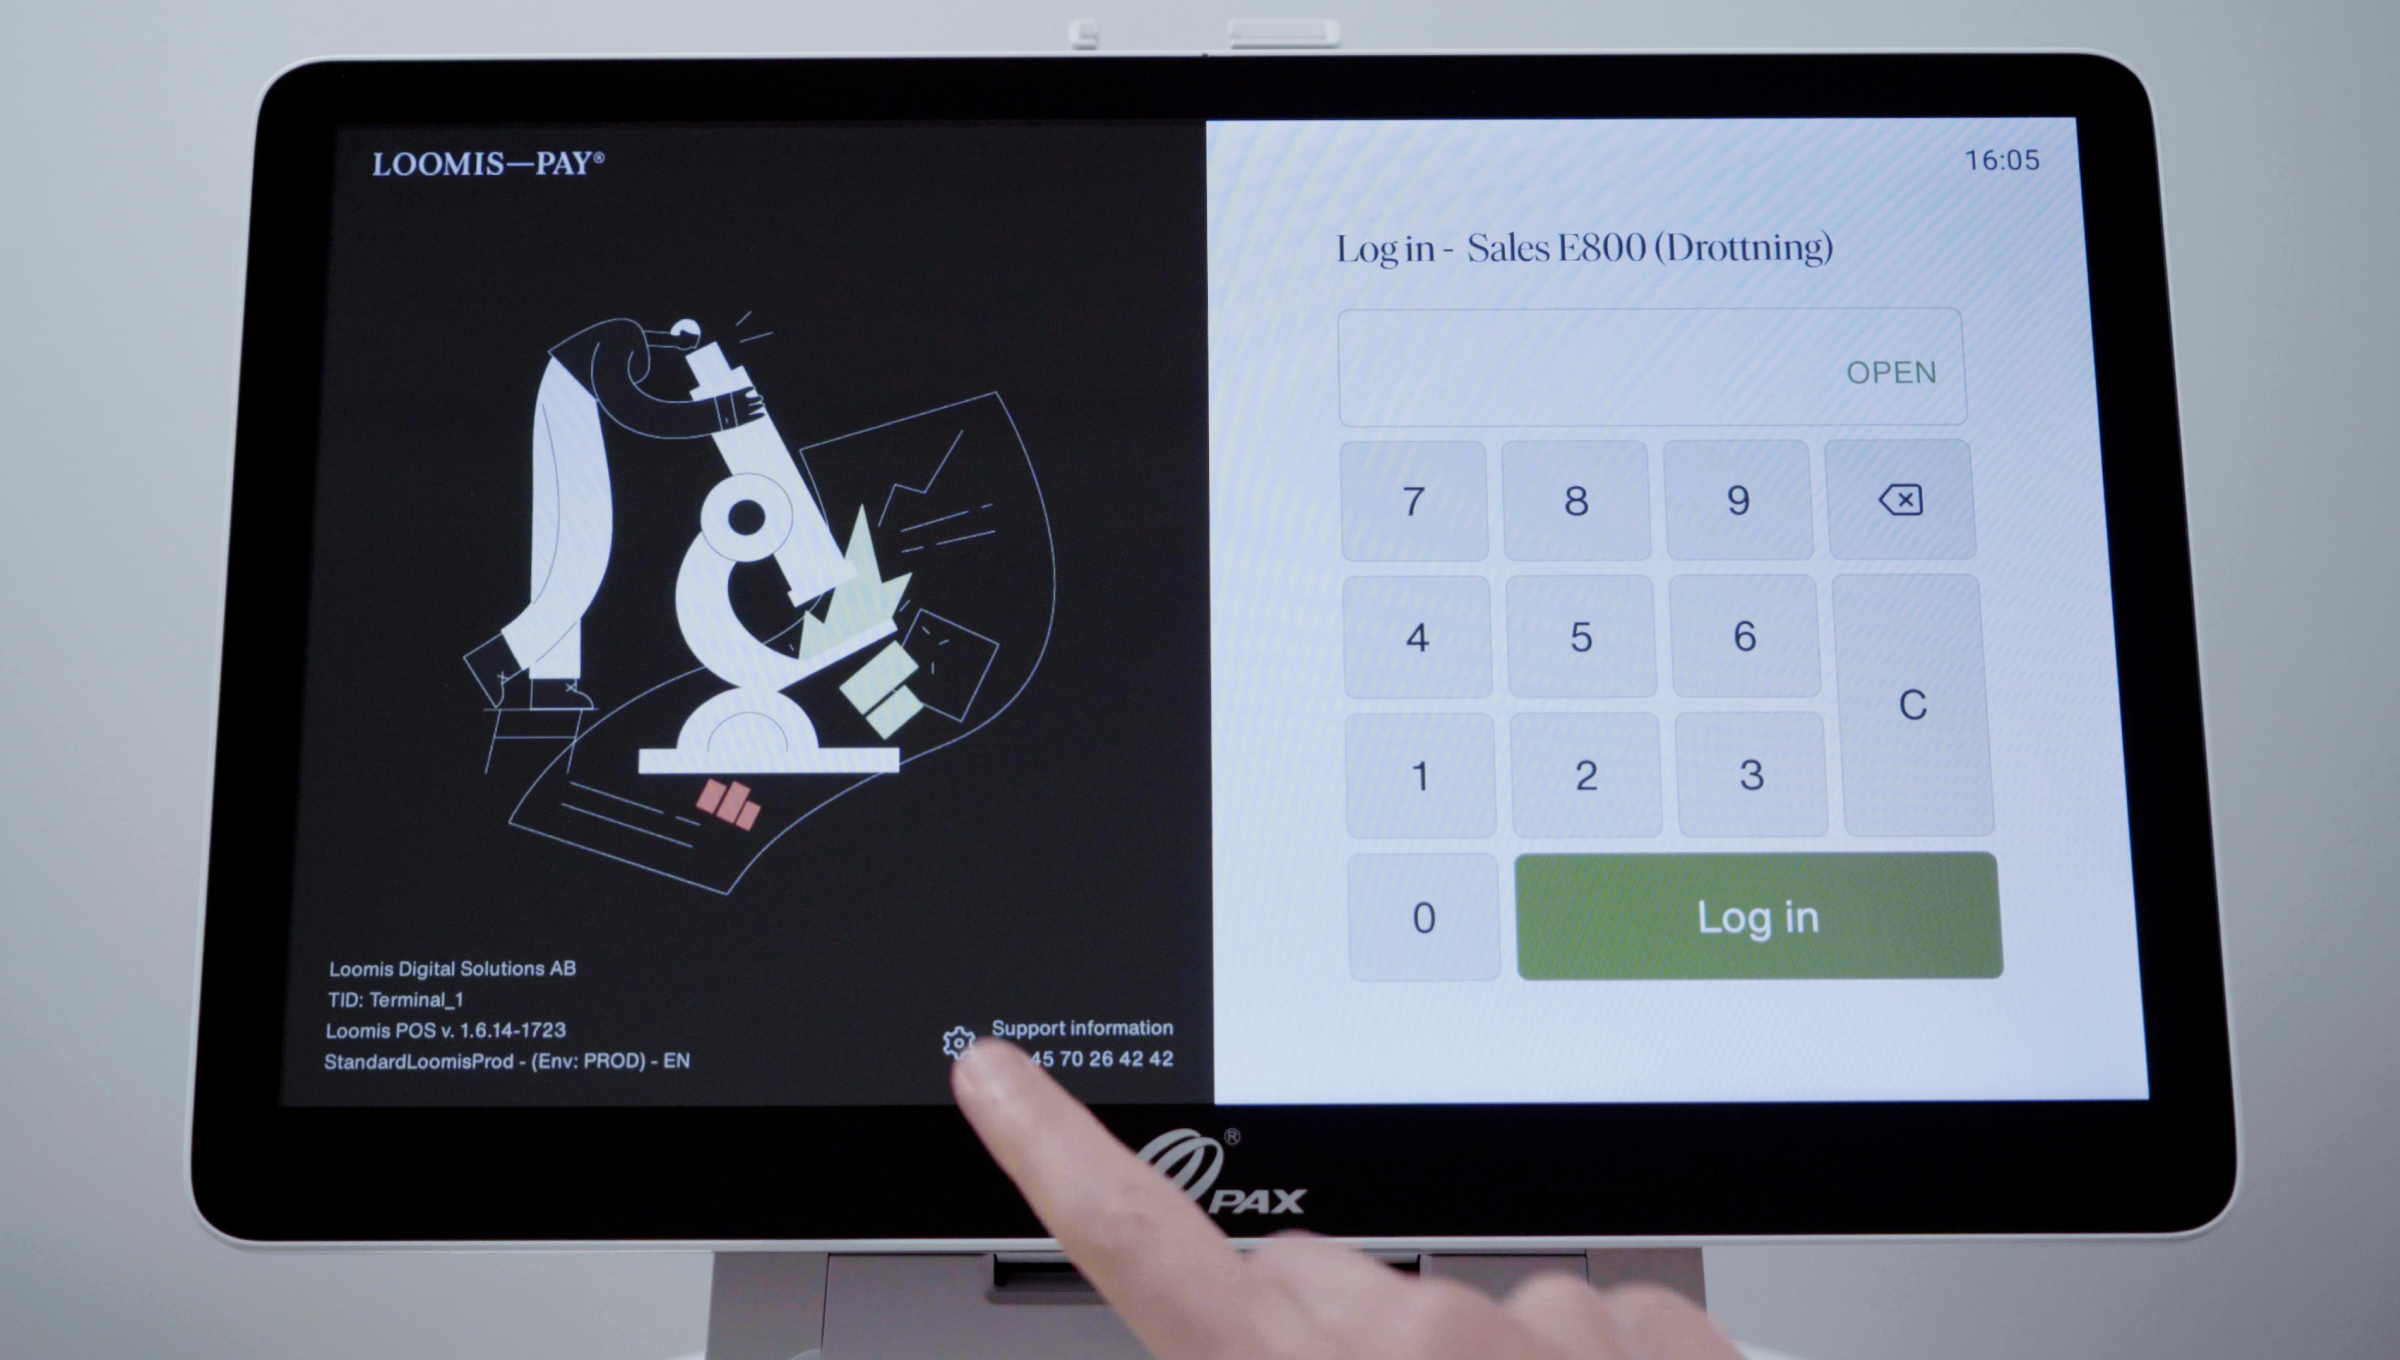
1. Press the Settings wheel at the bottom of the Login screen.
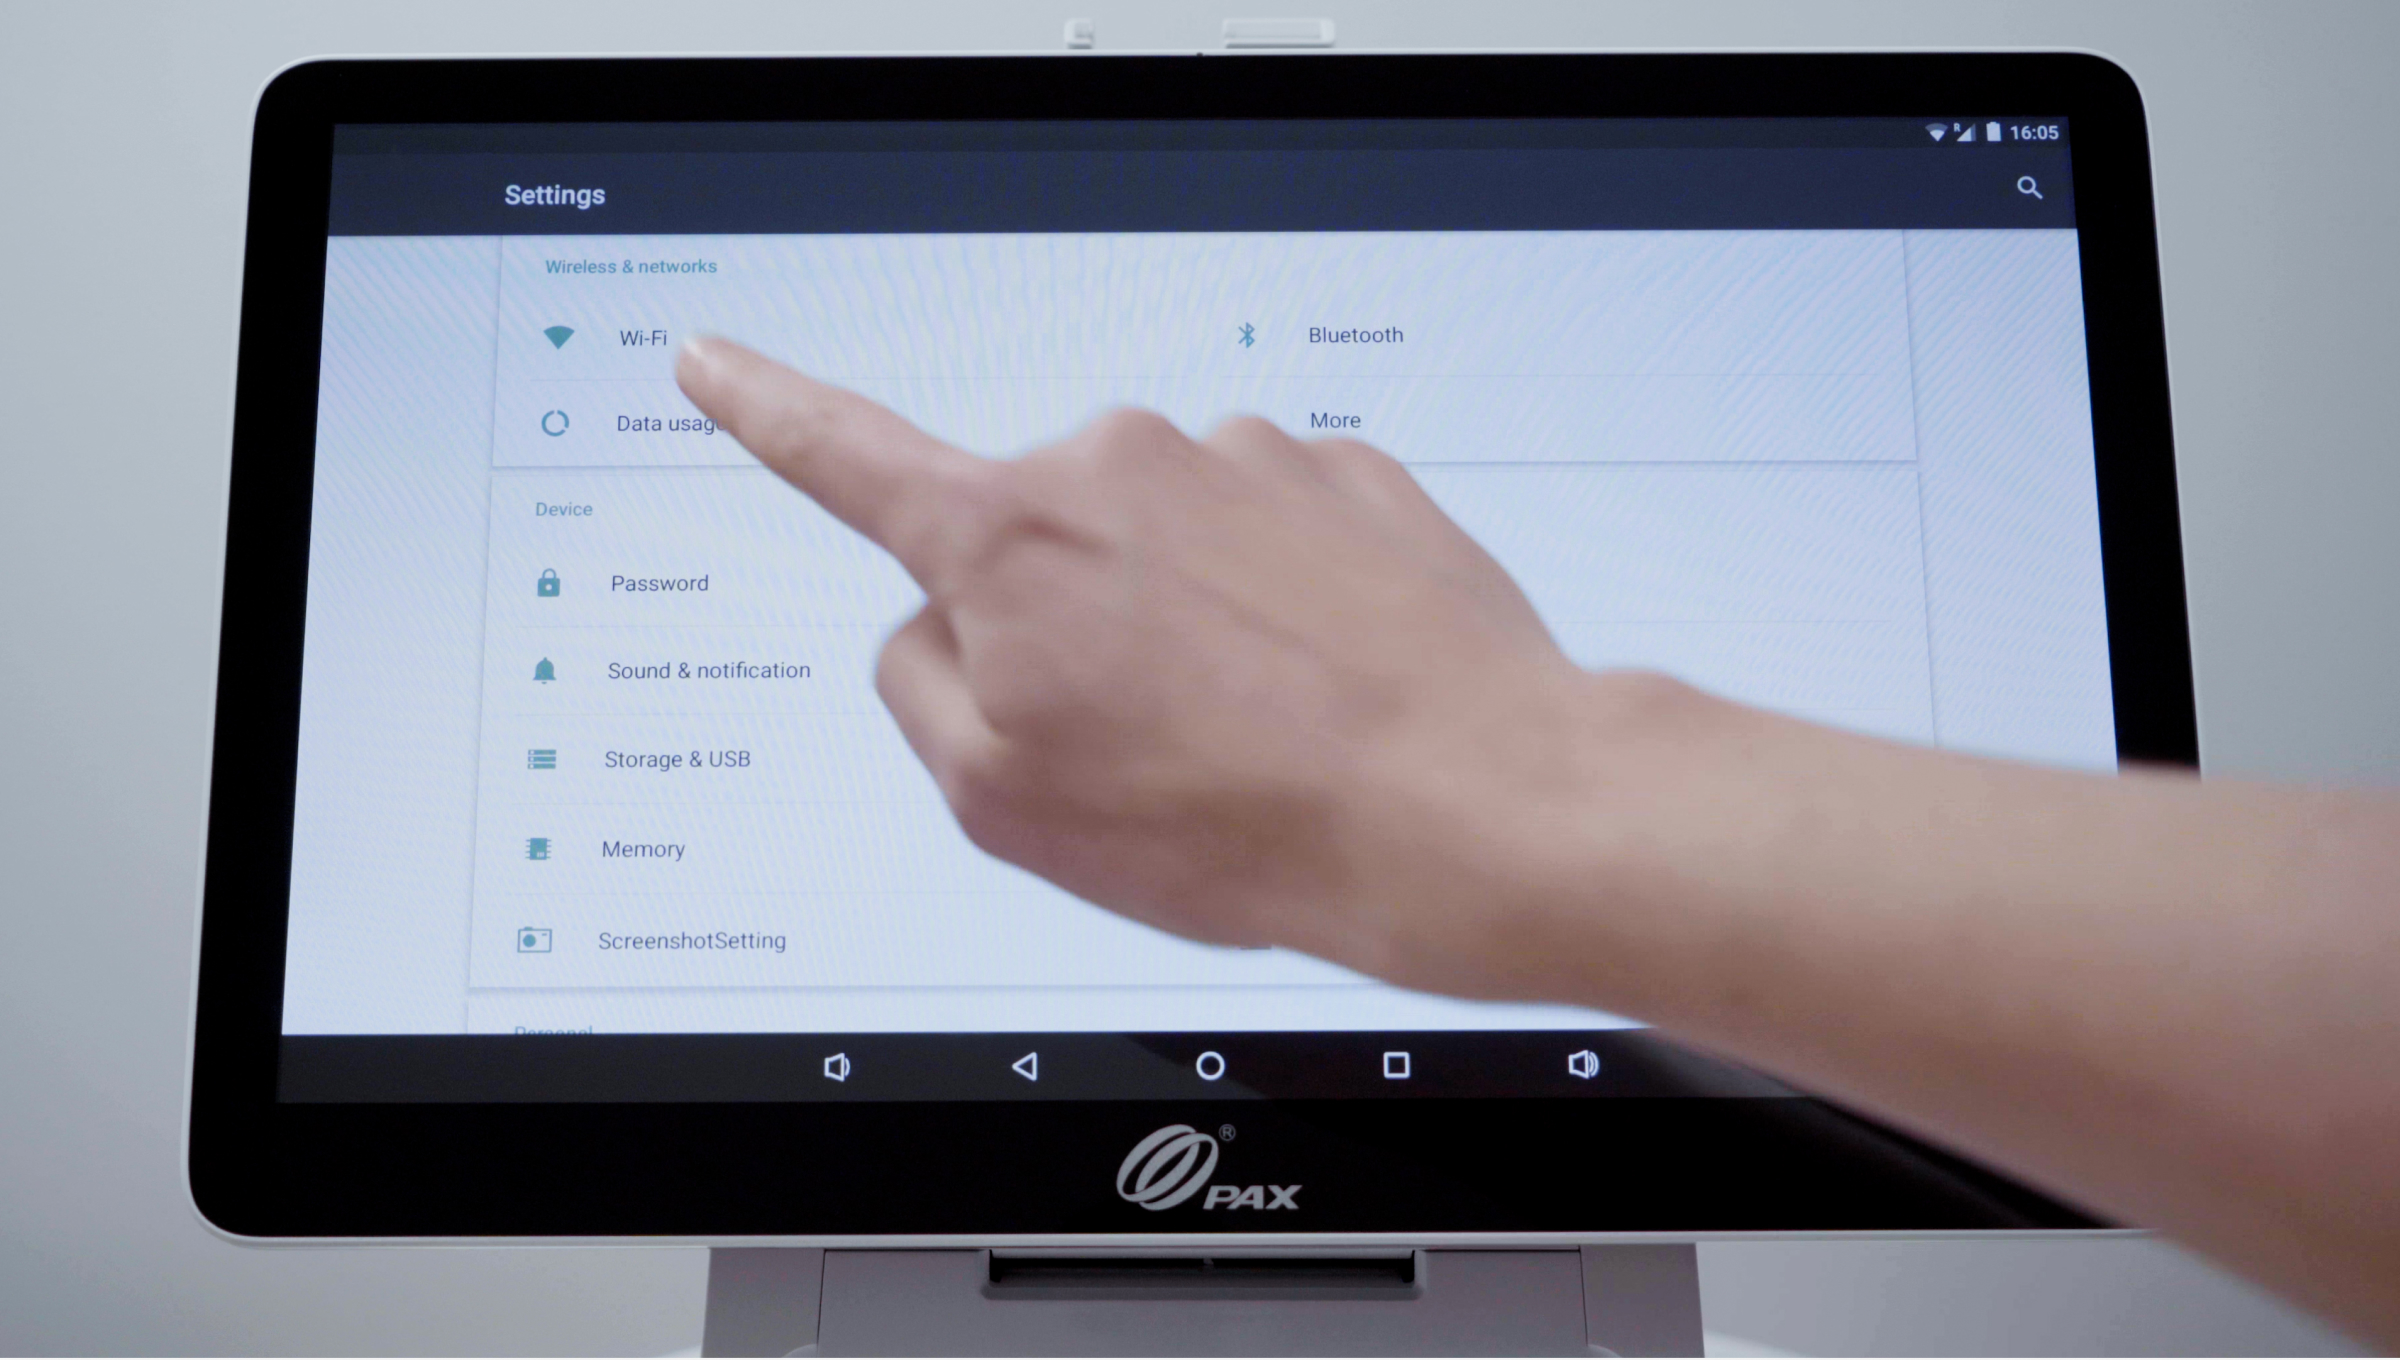
2. Tap on the WiFi button in the menu.
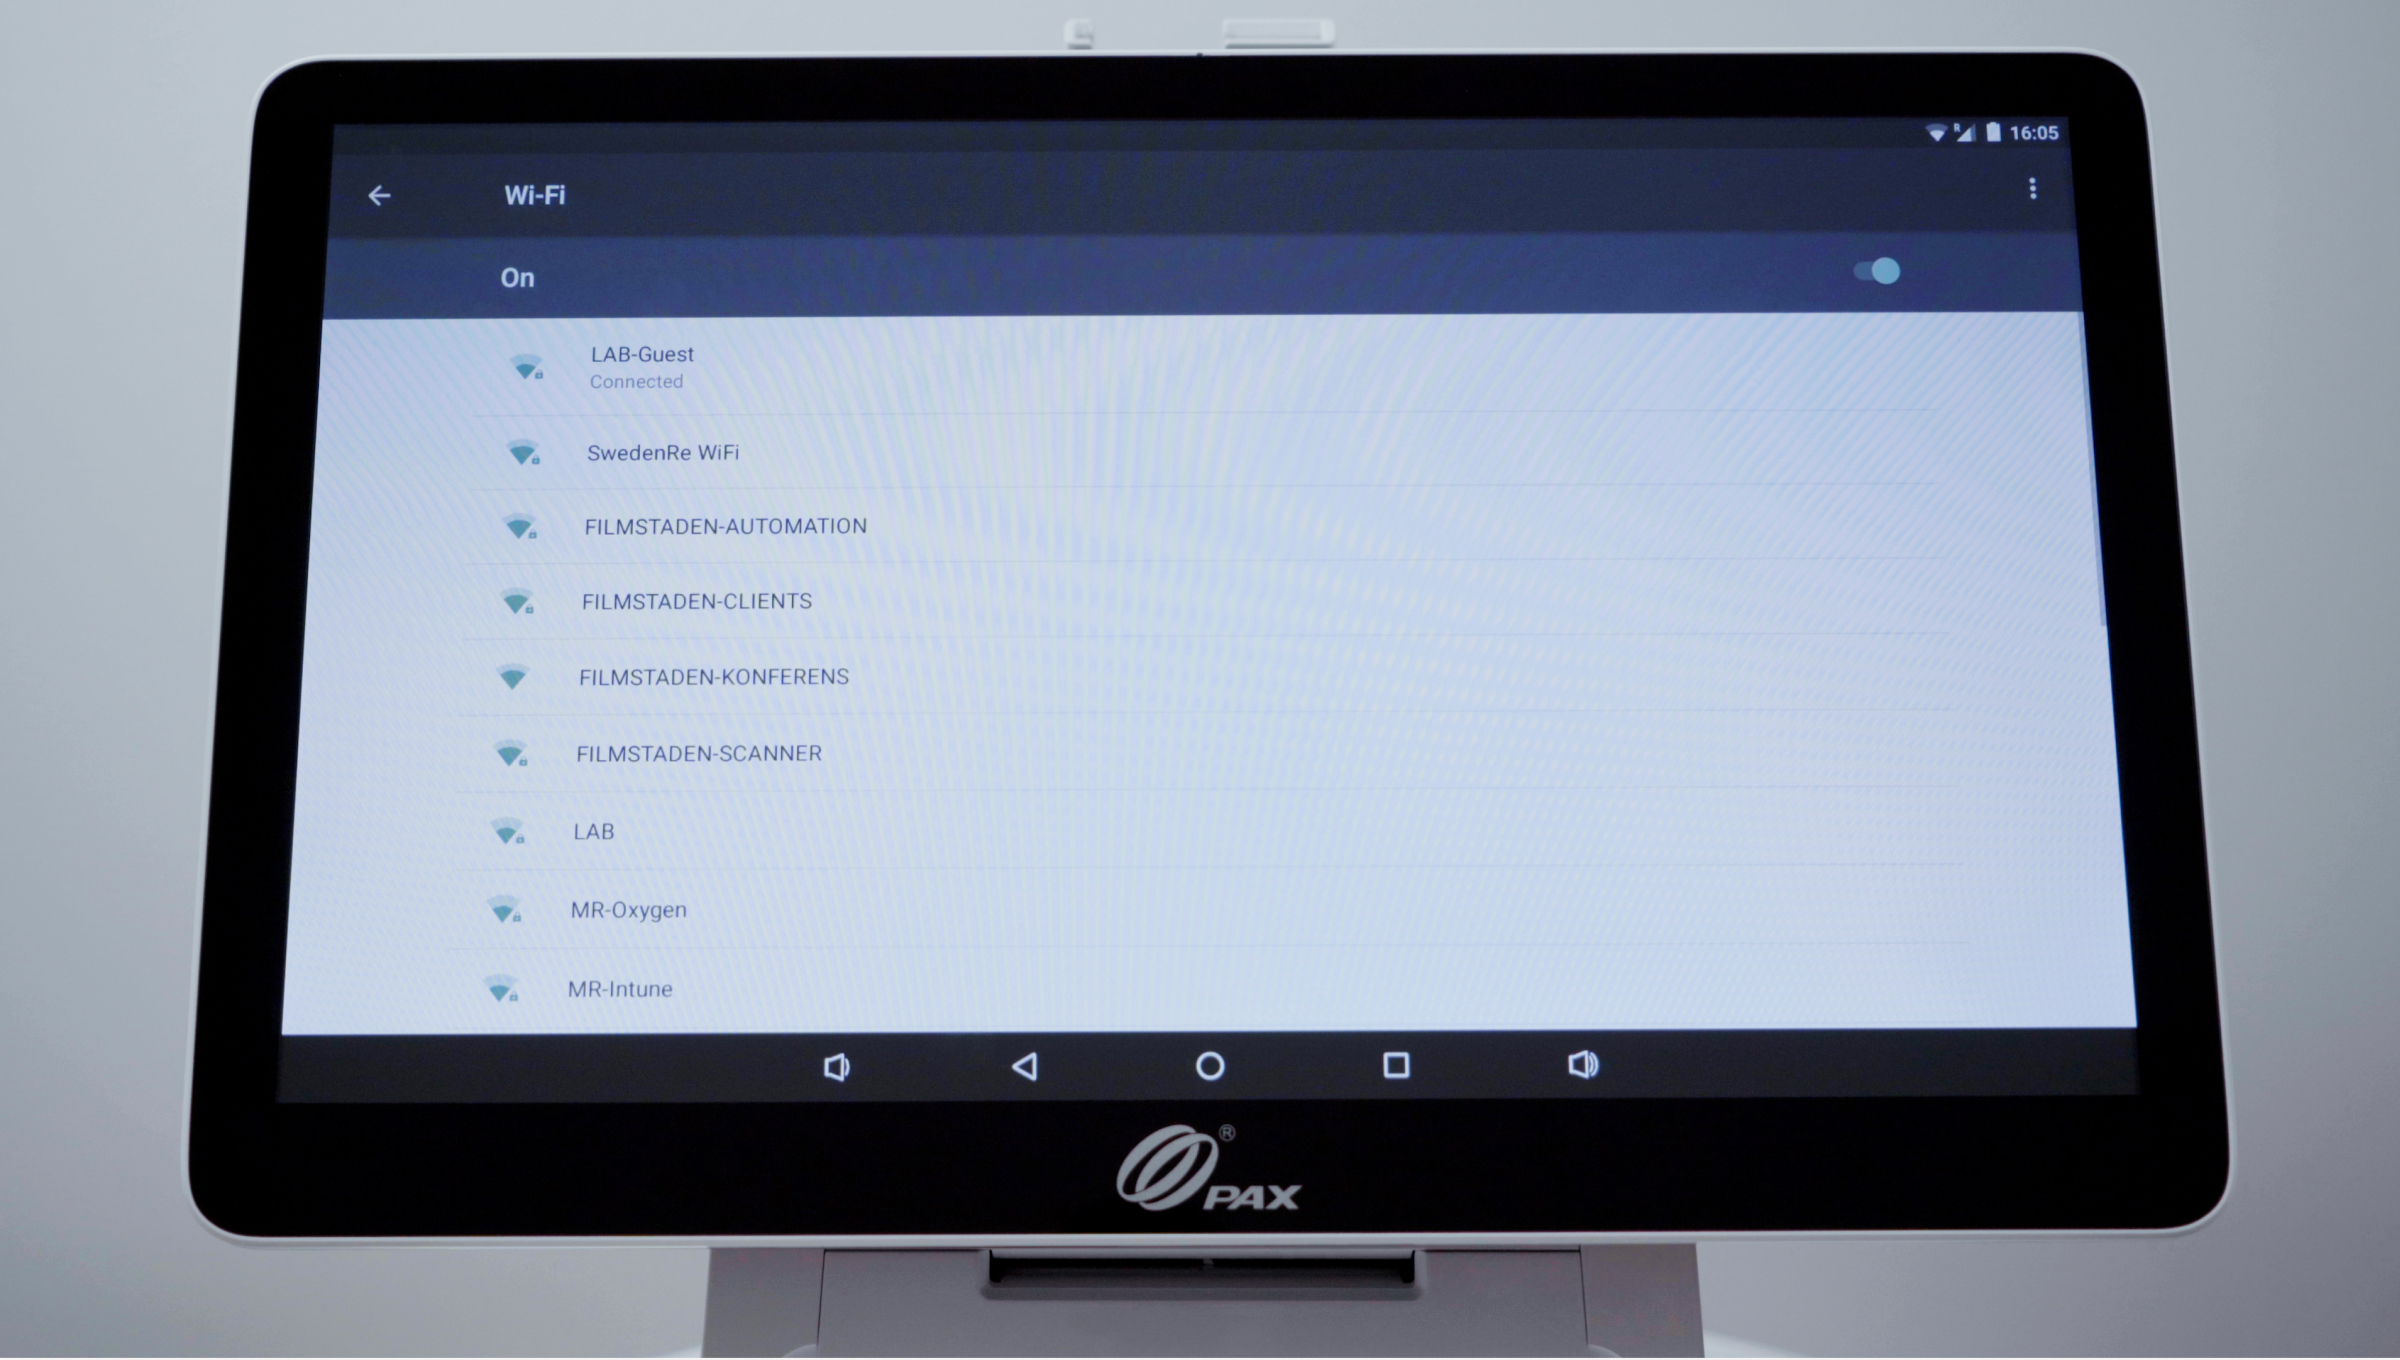
3. Connect to your preferred network.
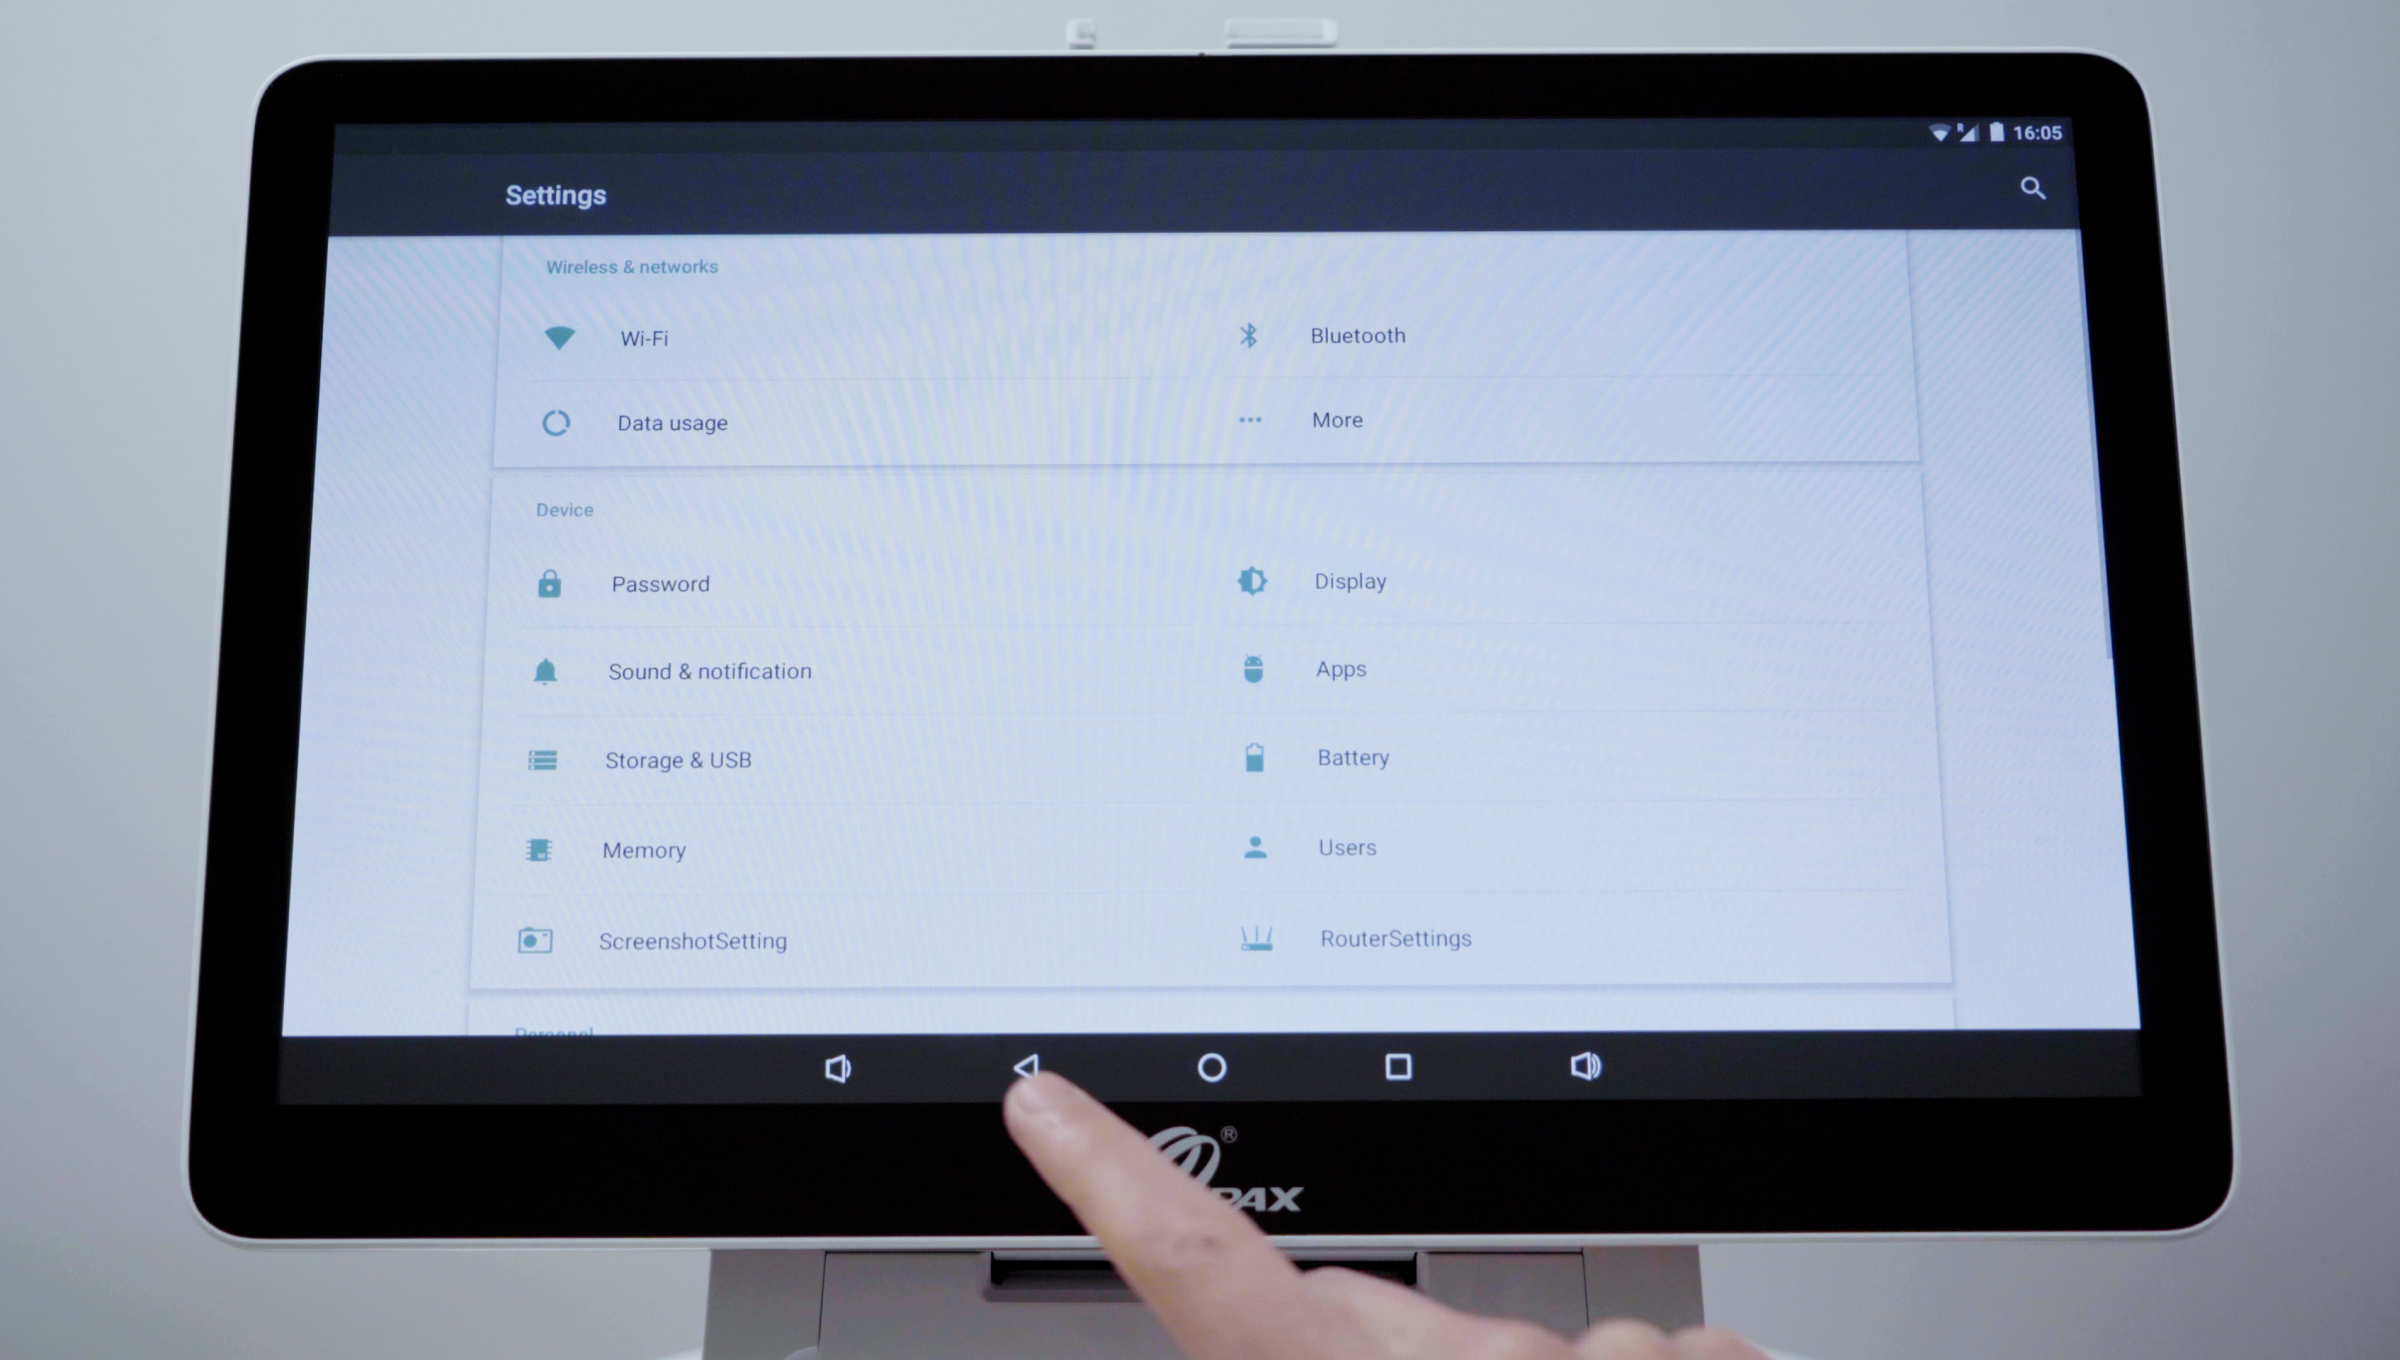
4. After connecting to WiFi, press the Back arrow in the footer menu to return to the Login screen.
Step 3
Login to your device
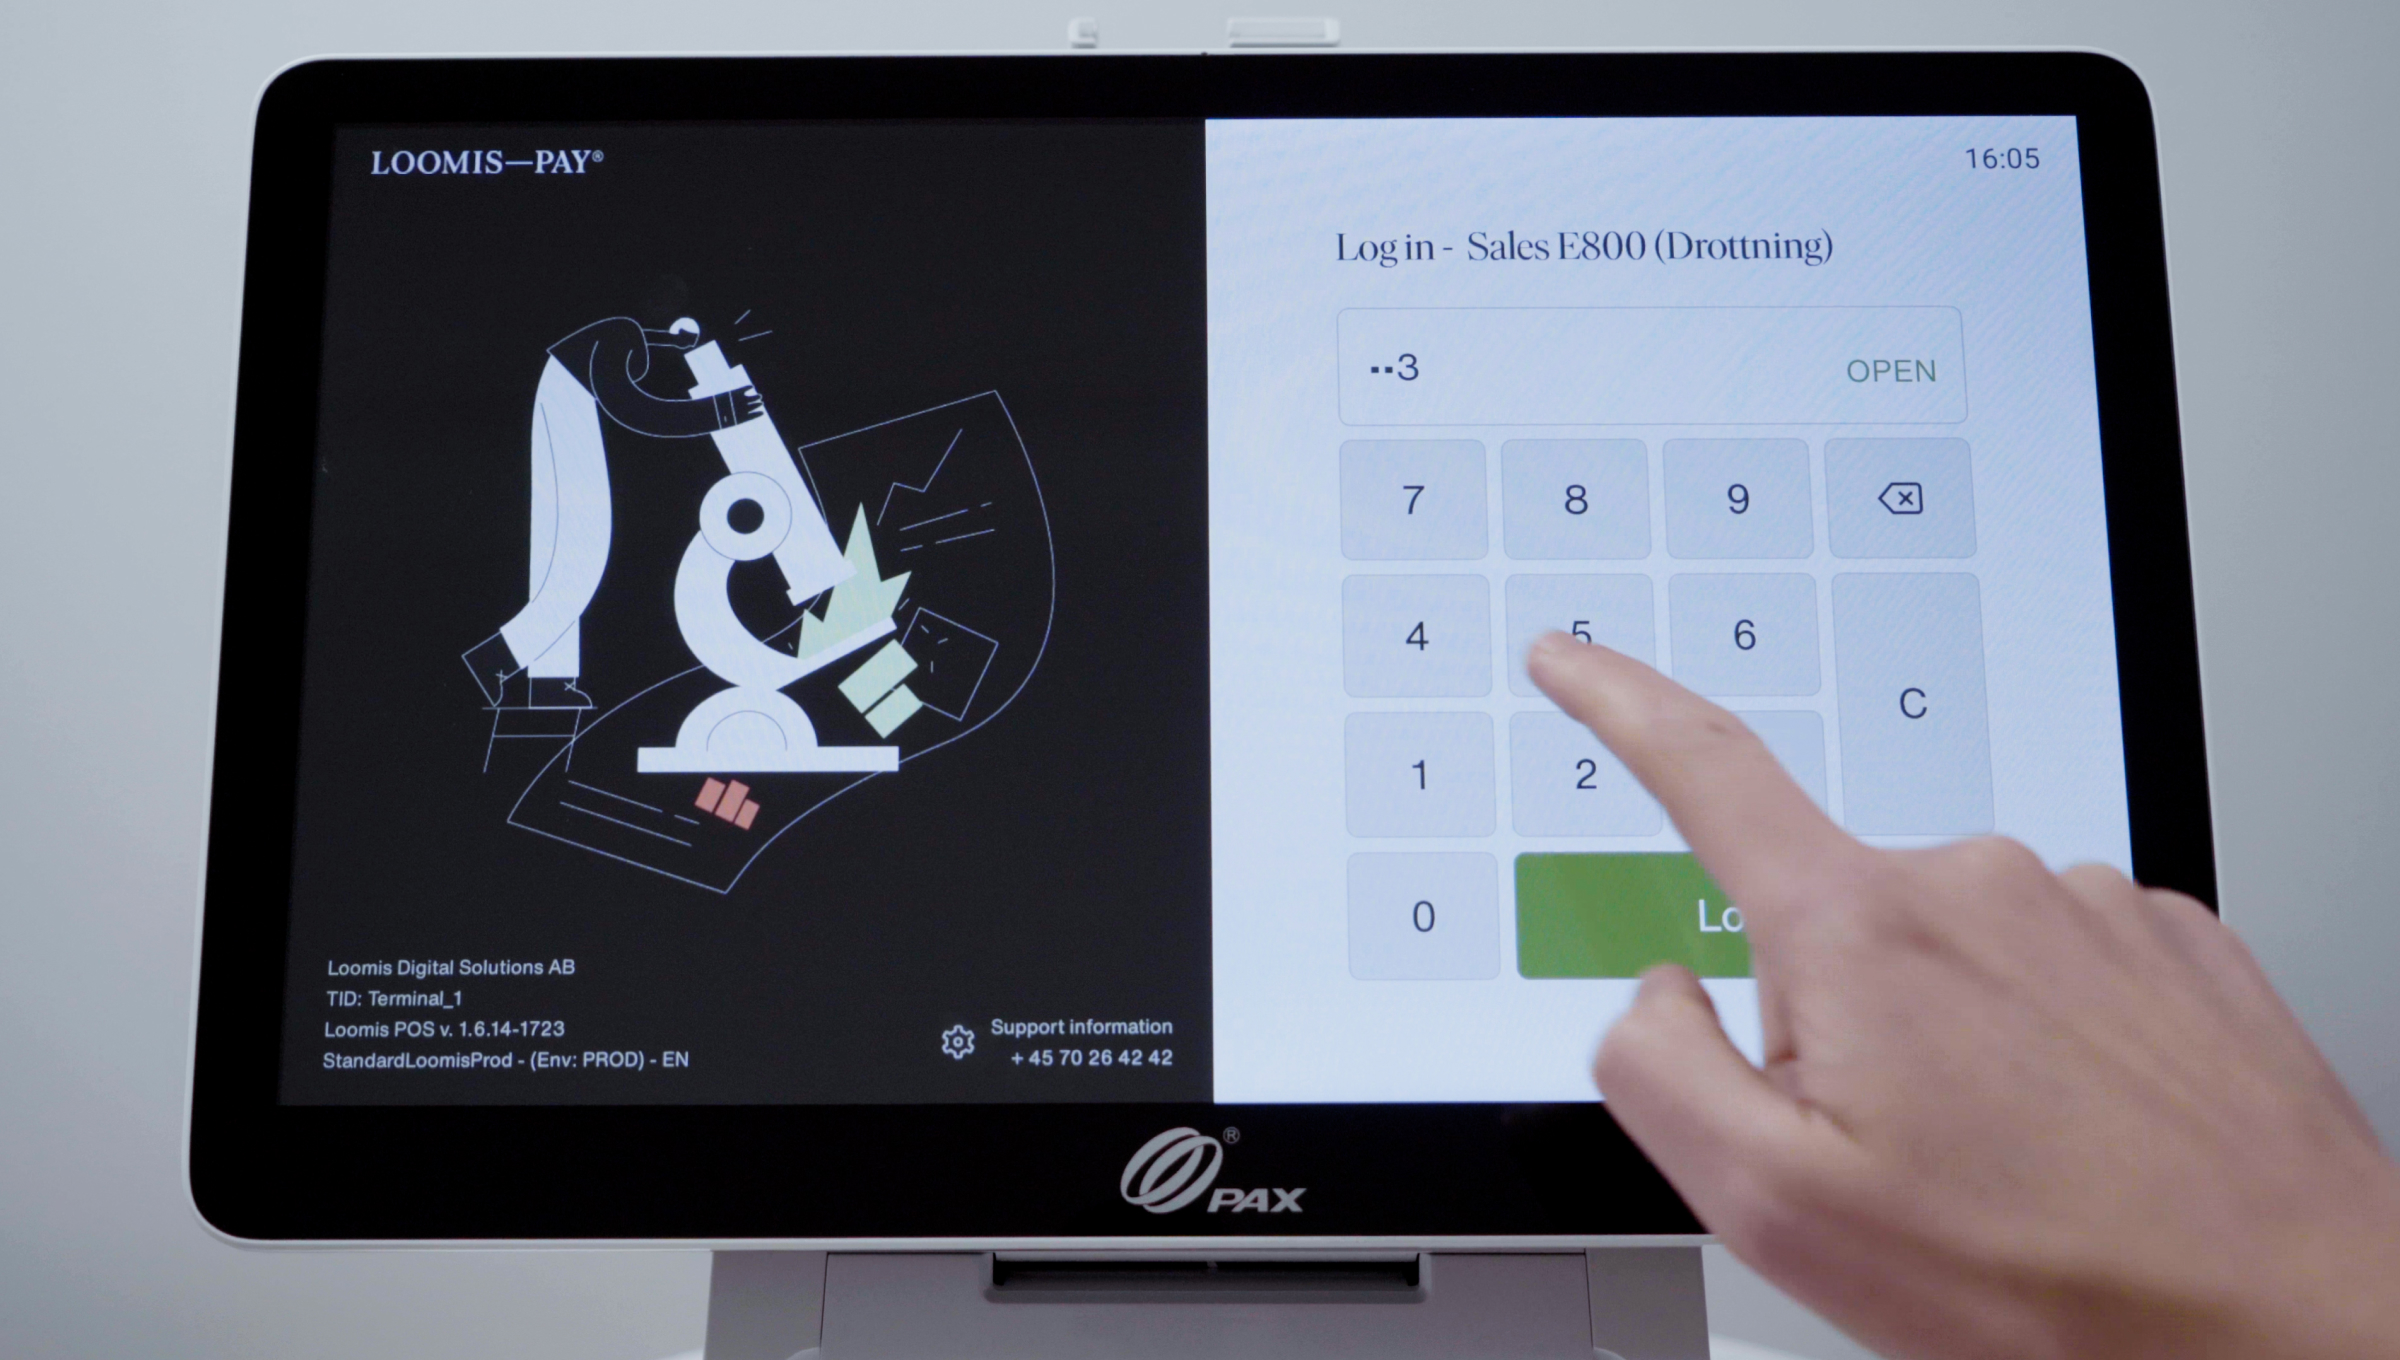
1. Enter the PIN code "1234" (or your custom PIN code if you've already created one in the Loomis–Pay portal).
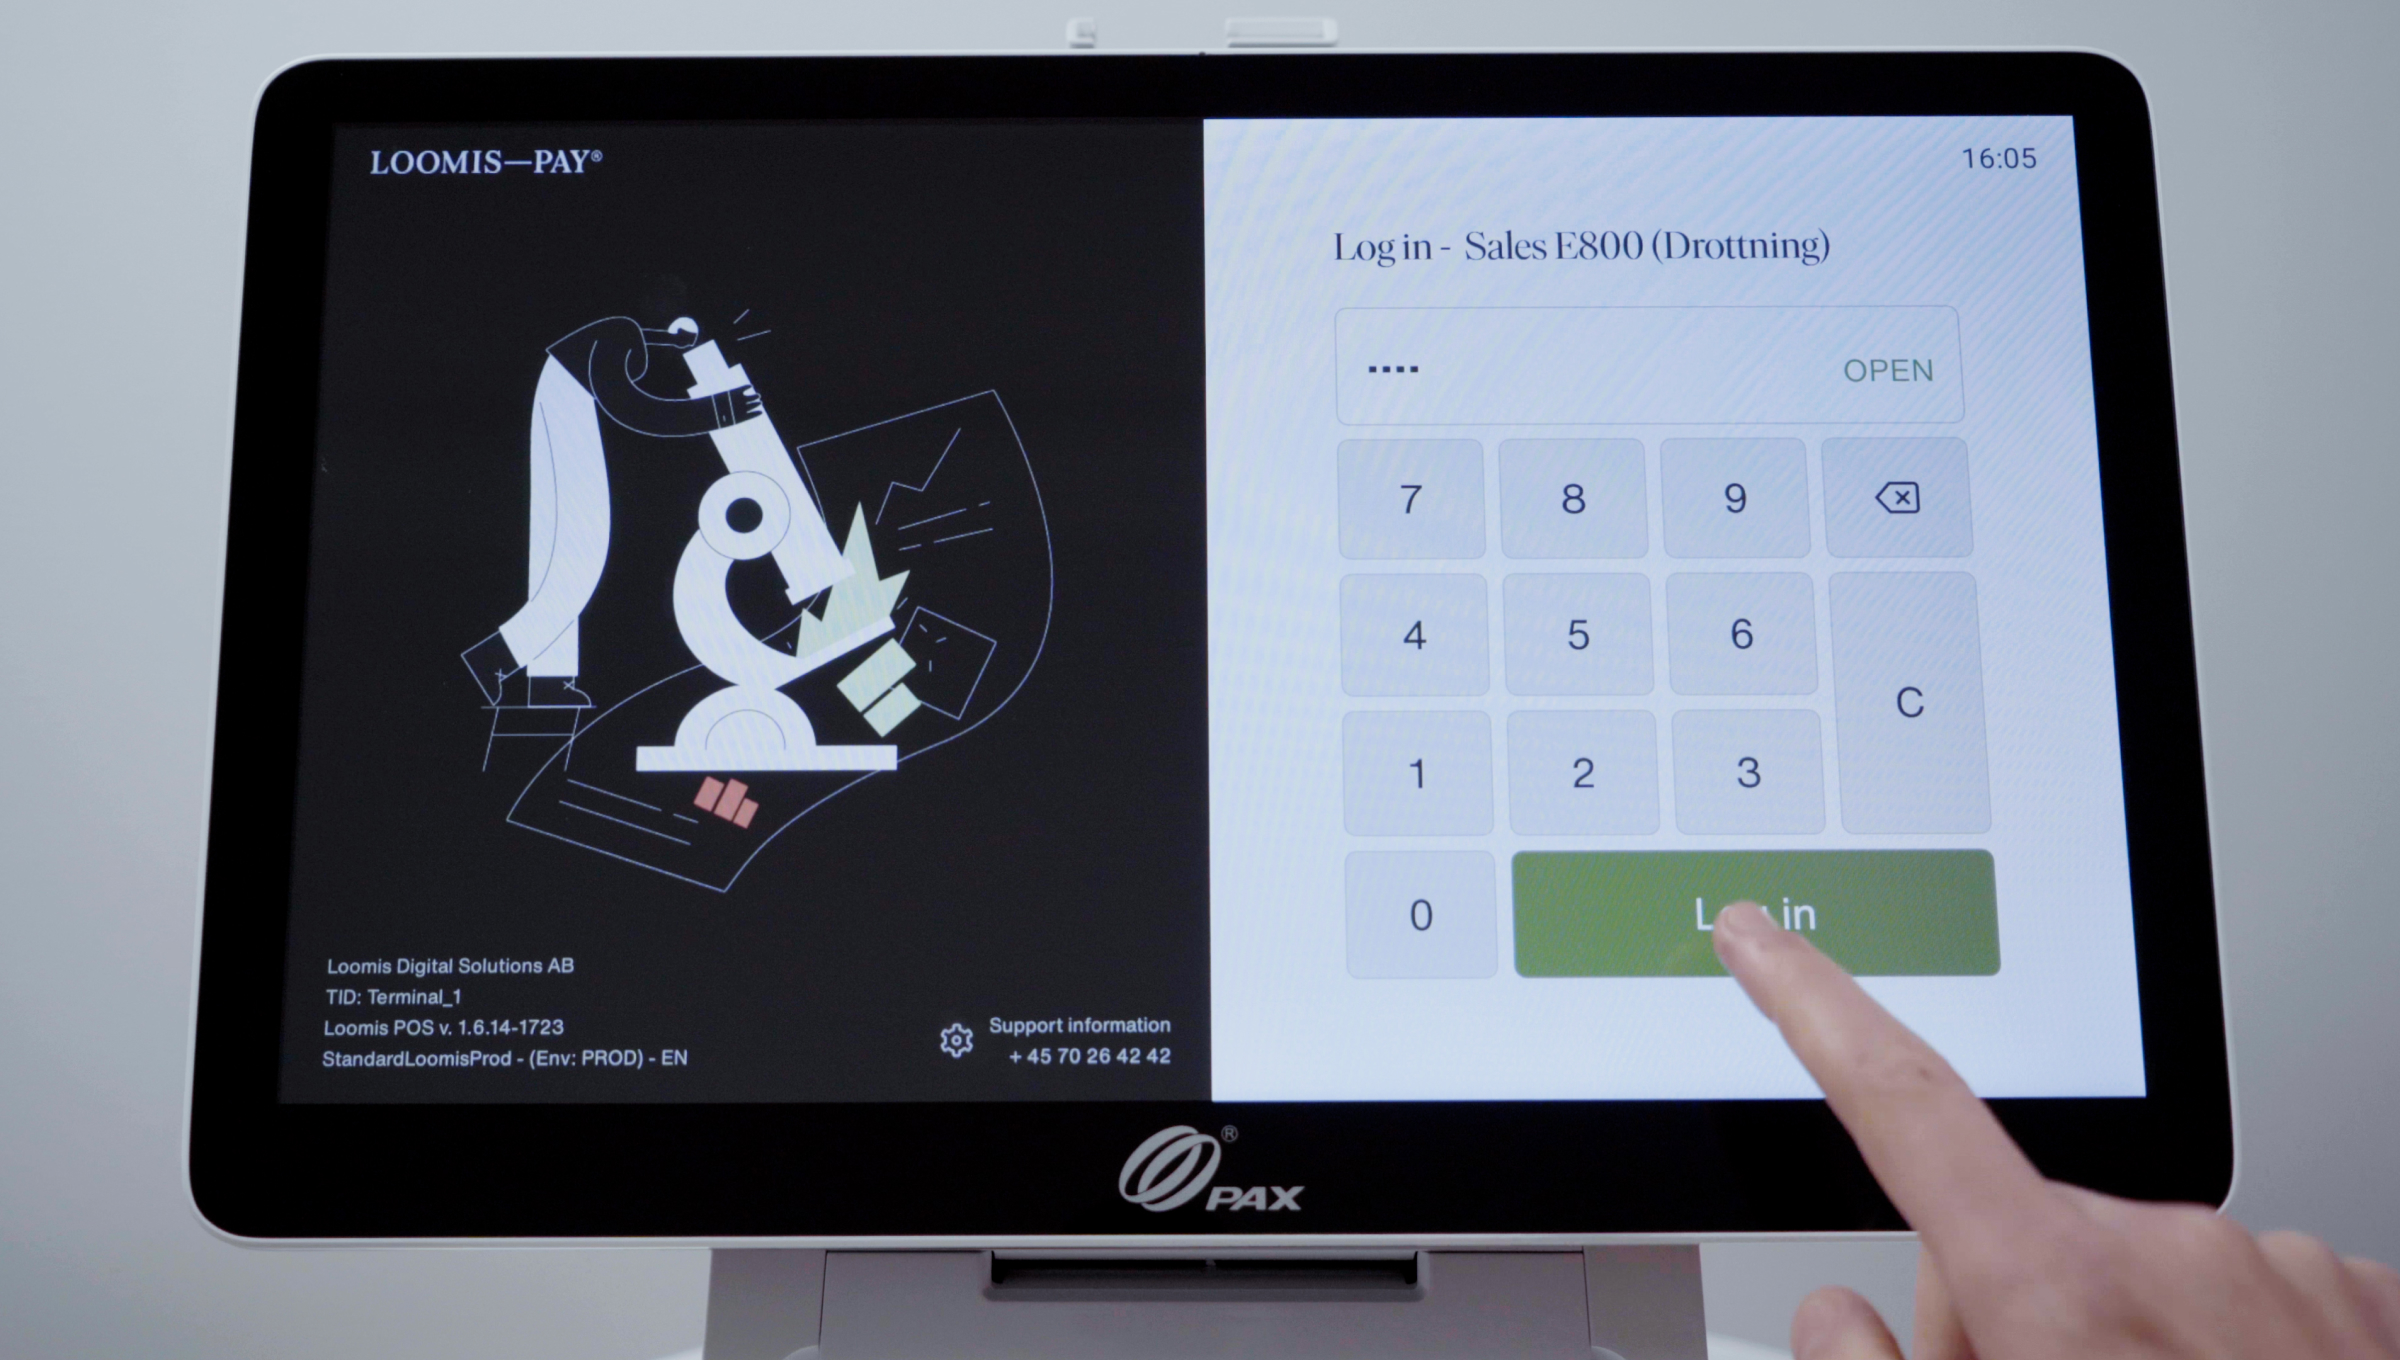
2. Press the Login button in the lower right corner.
Step 4
Install receipt roll
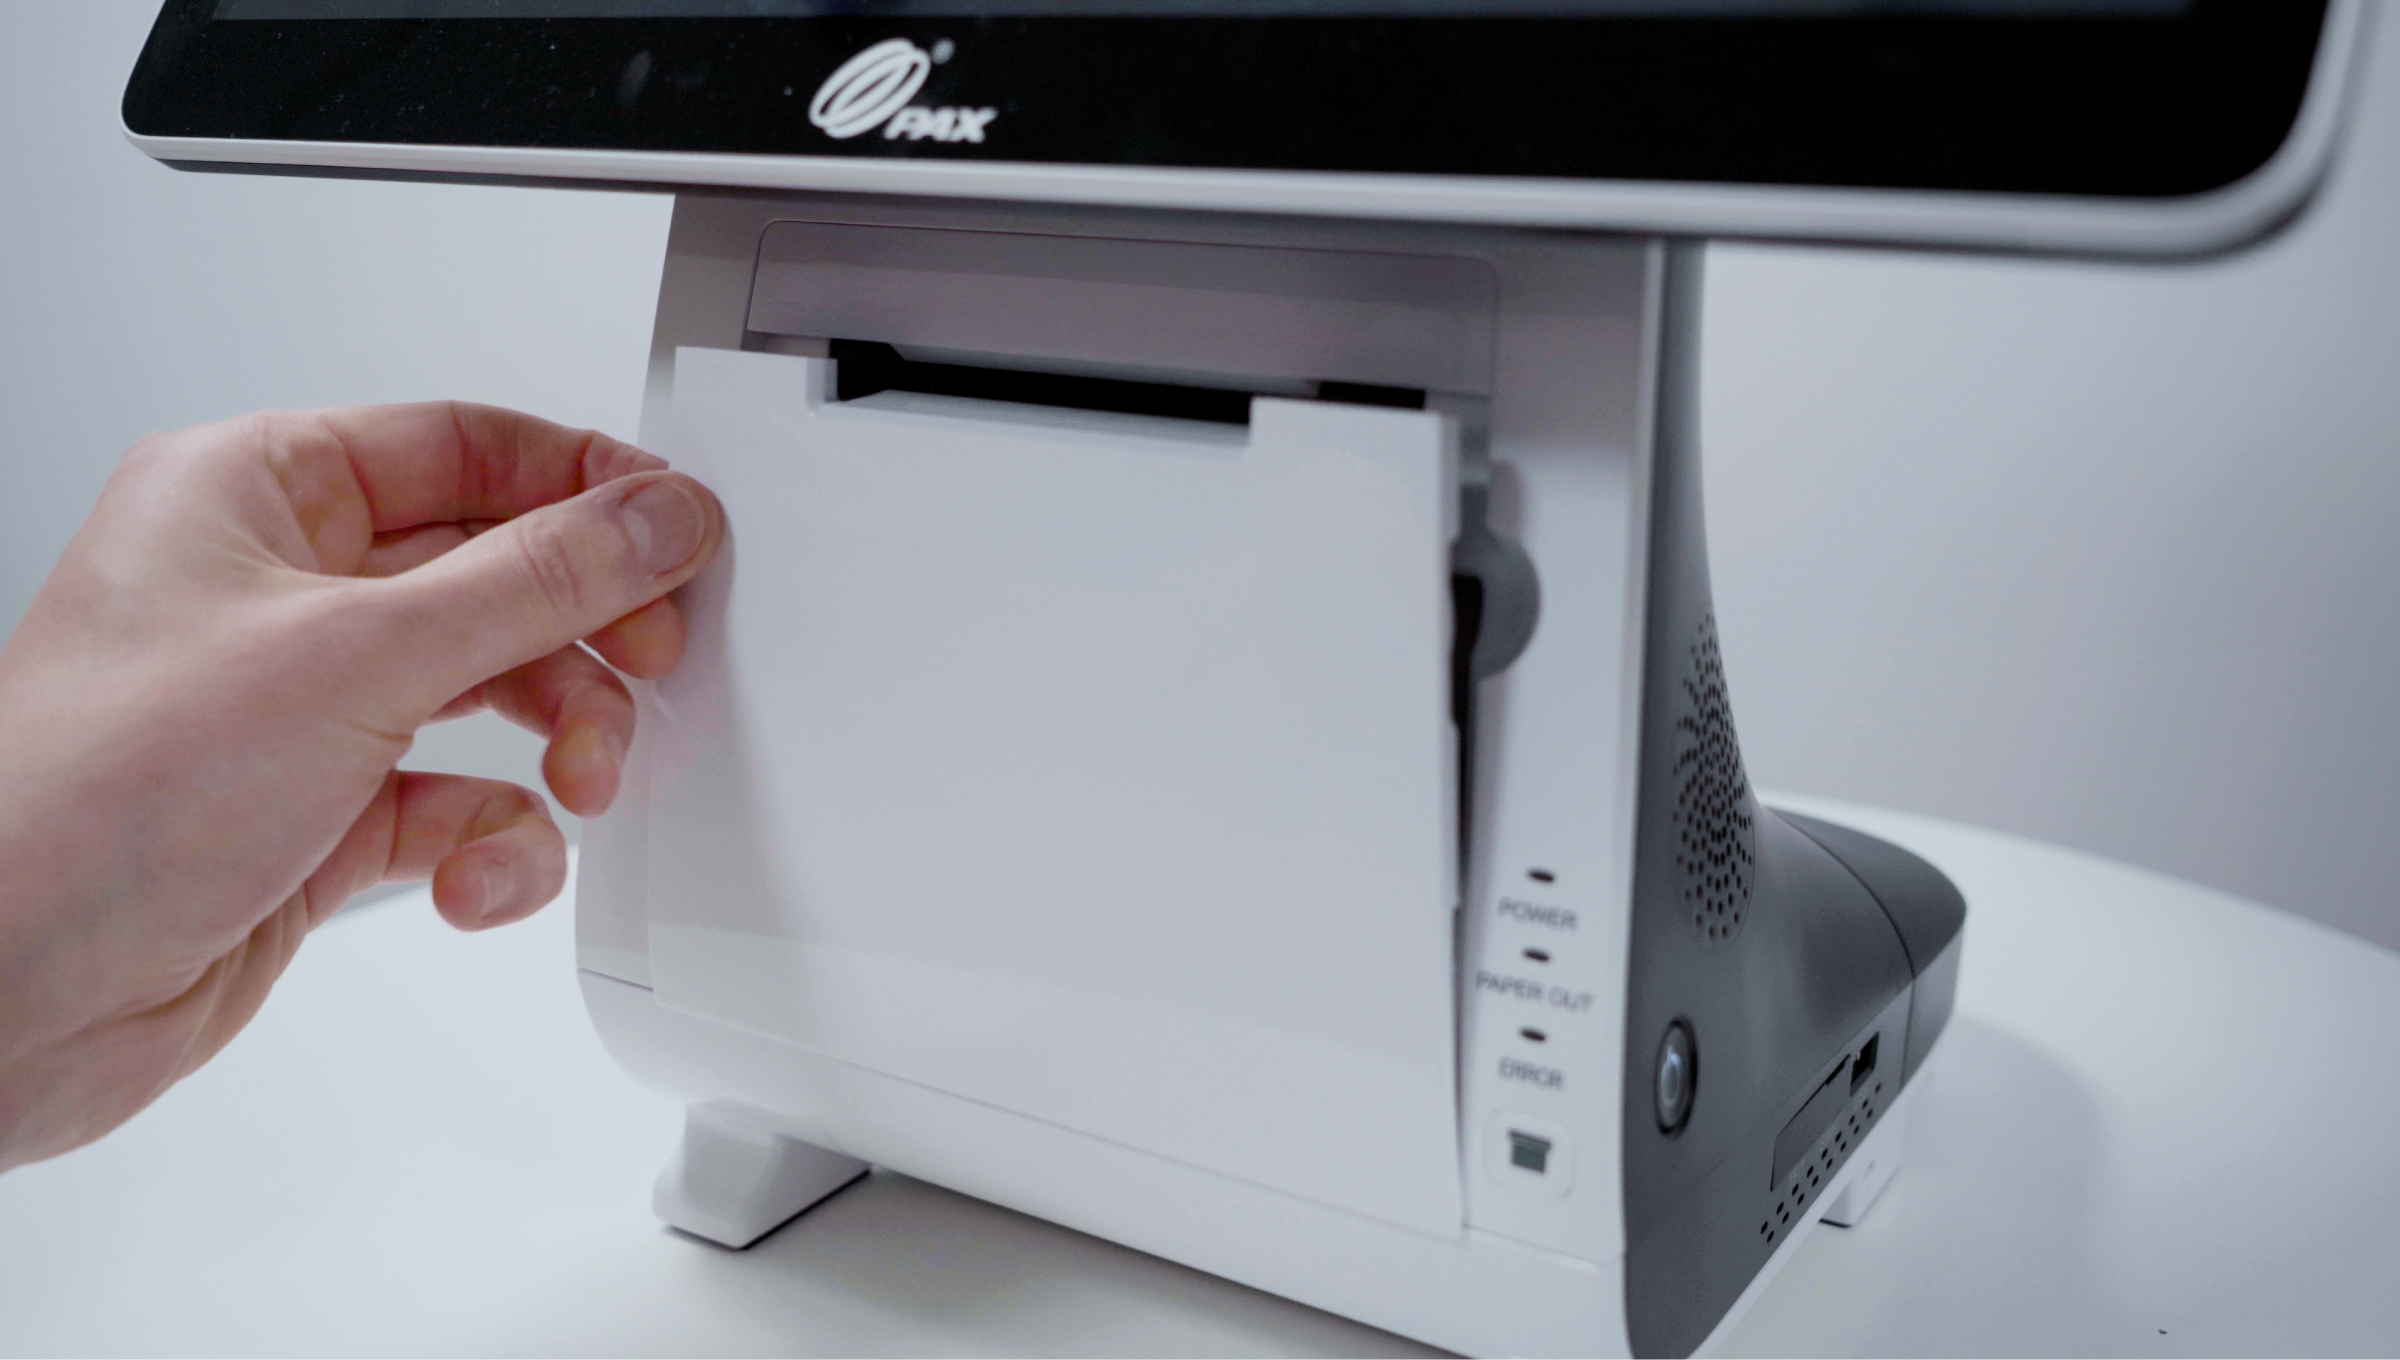
1. Open up the front hatch.
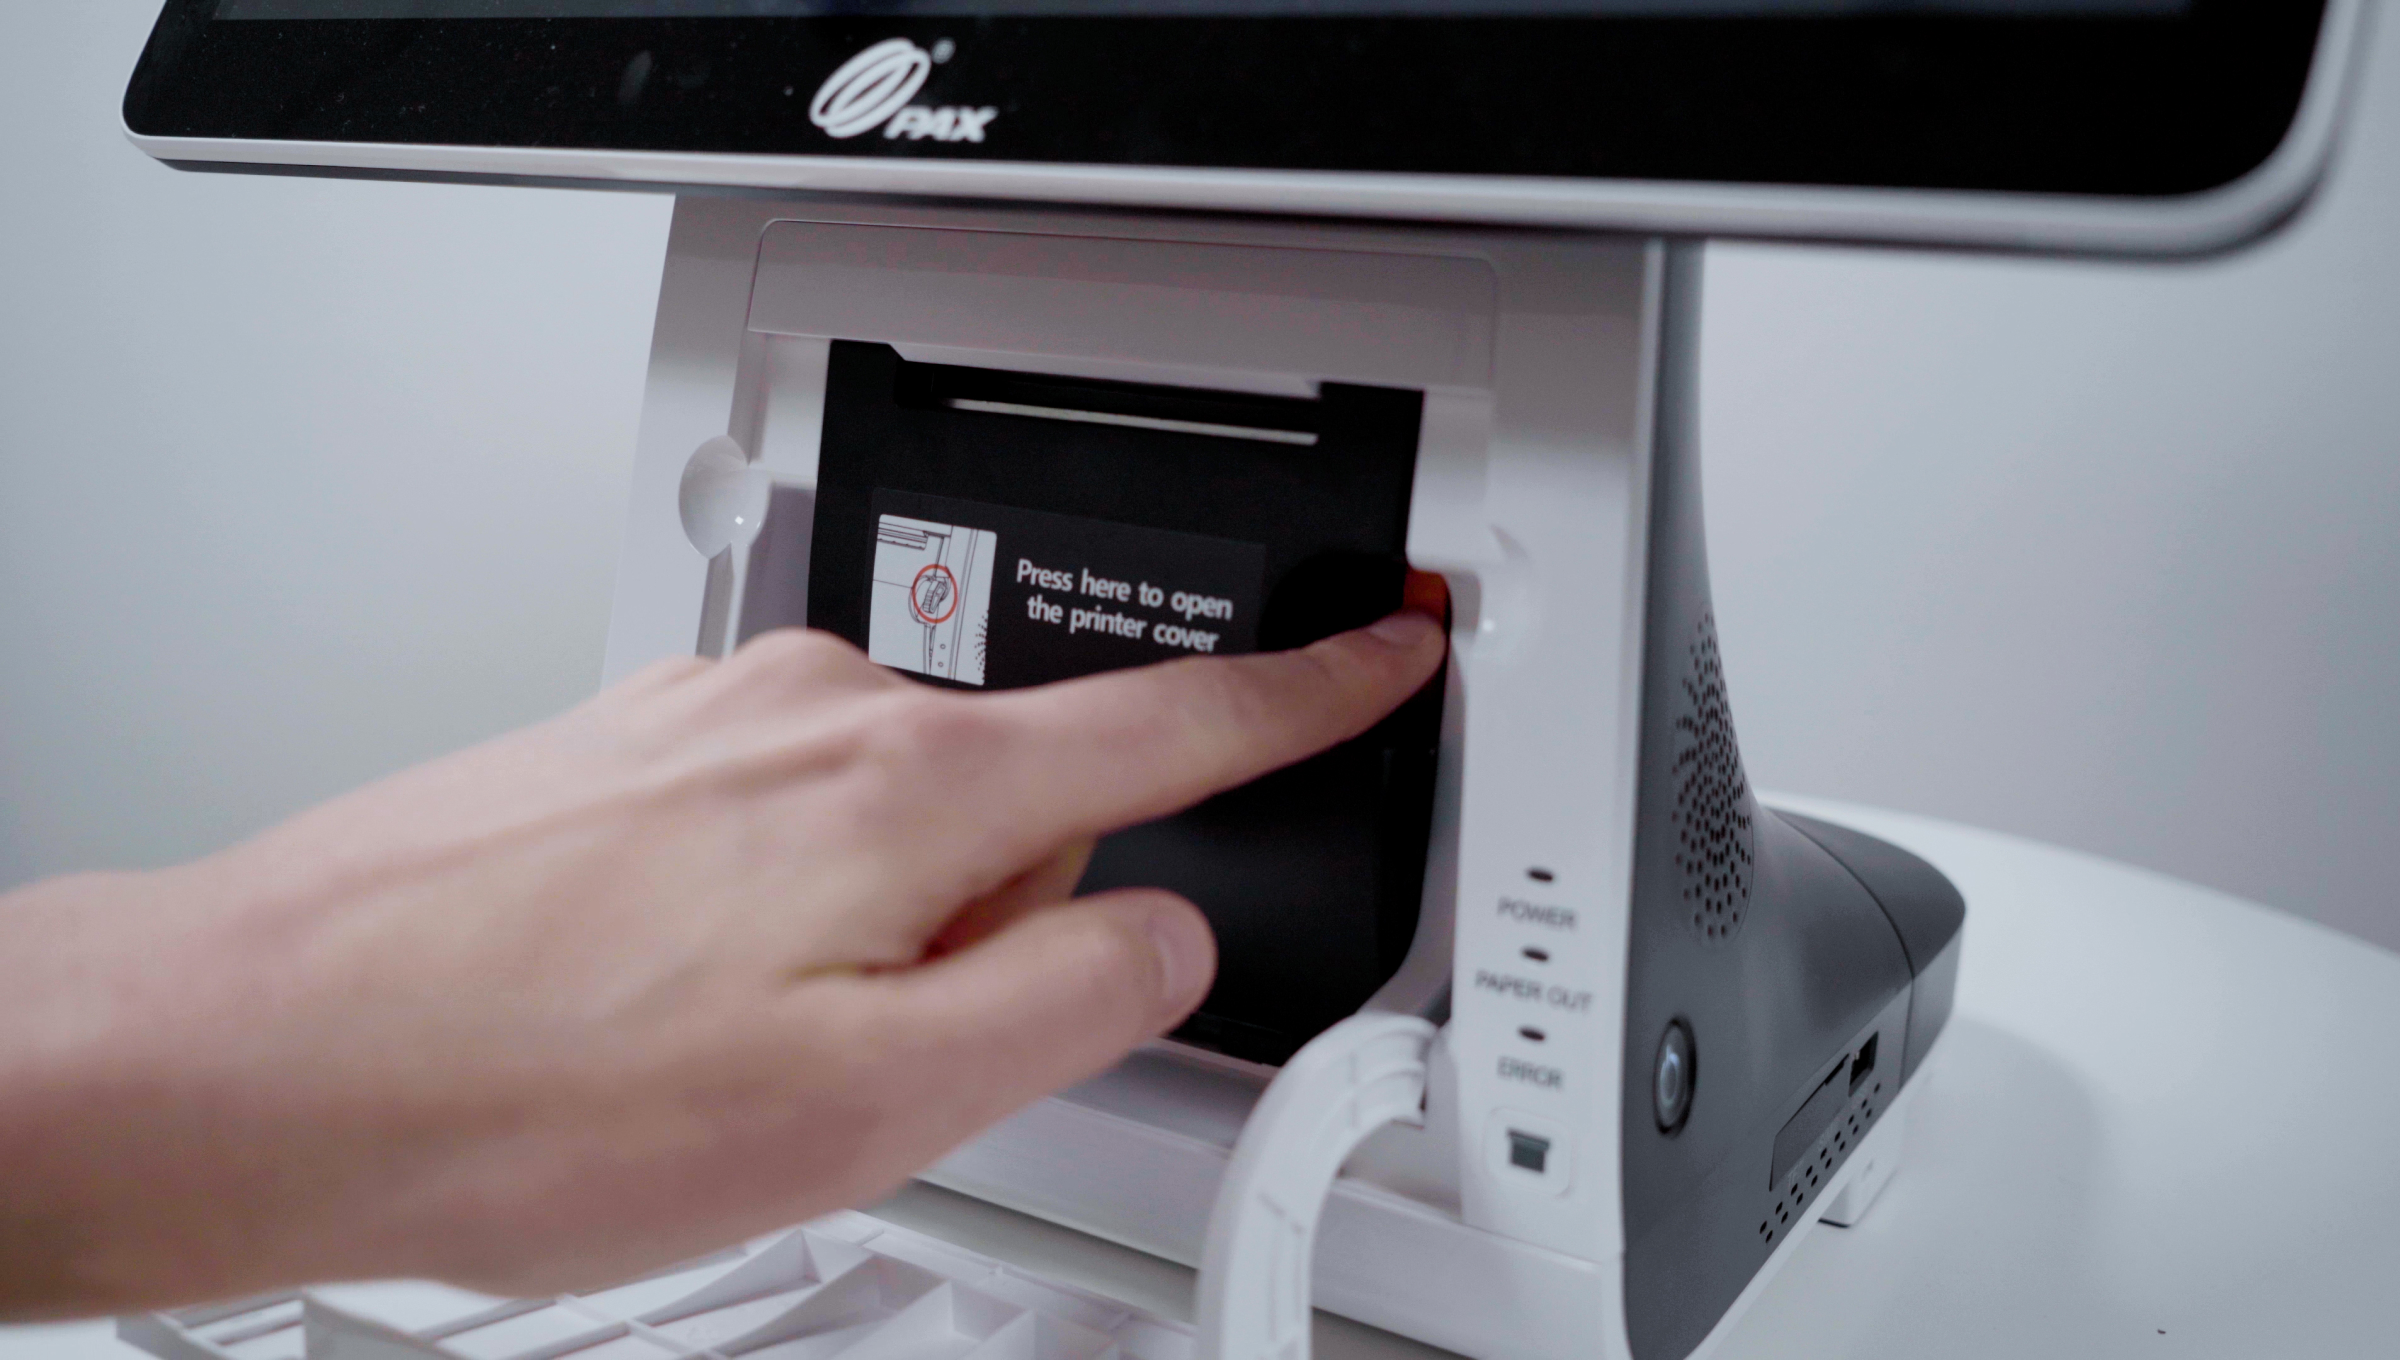
2. Push the orange button inward to open the printer cover.
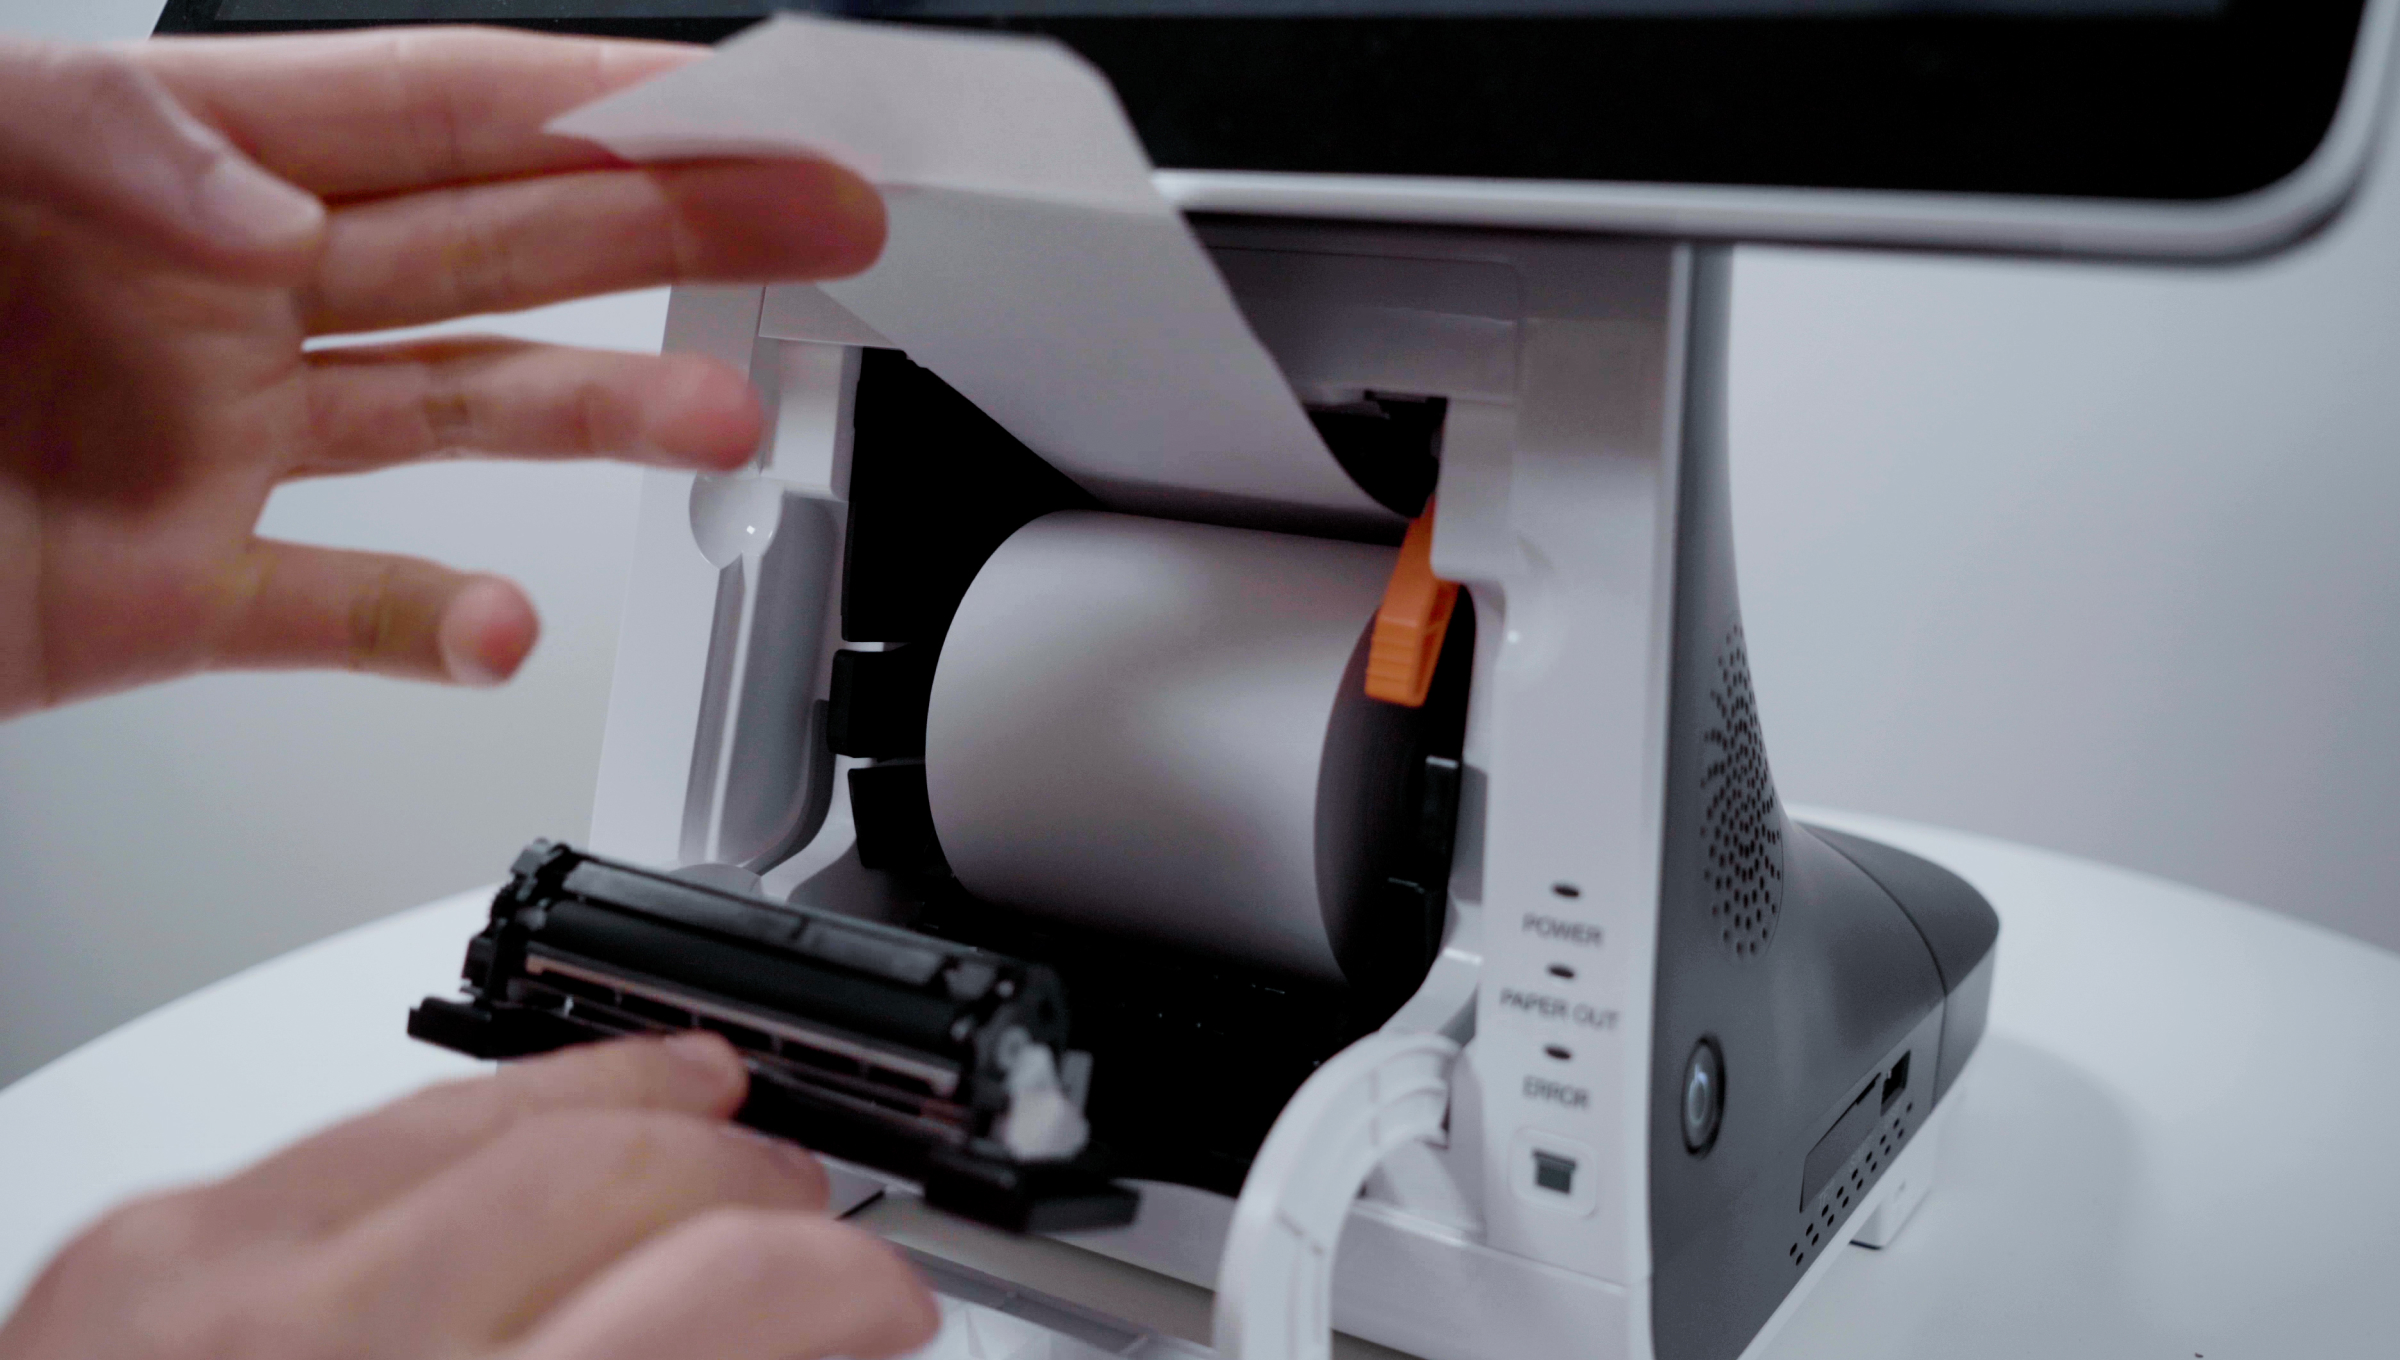
3. Put in the receipt roll with the paper up.
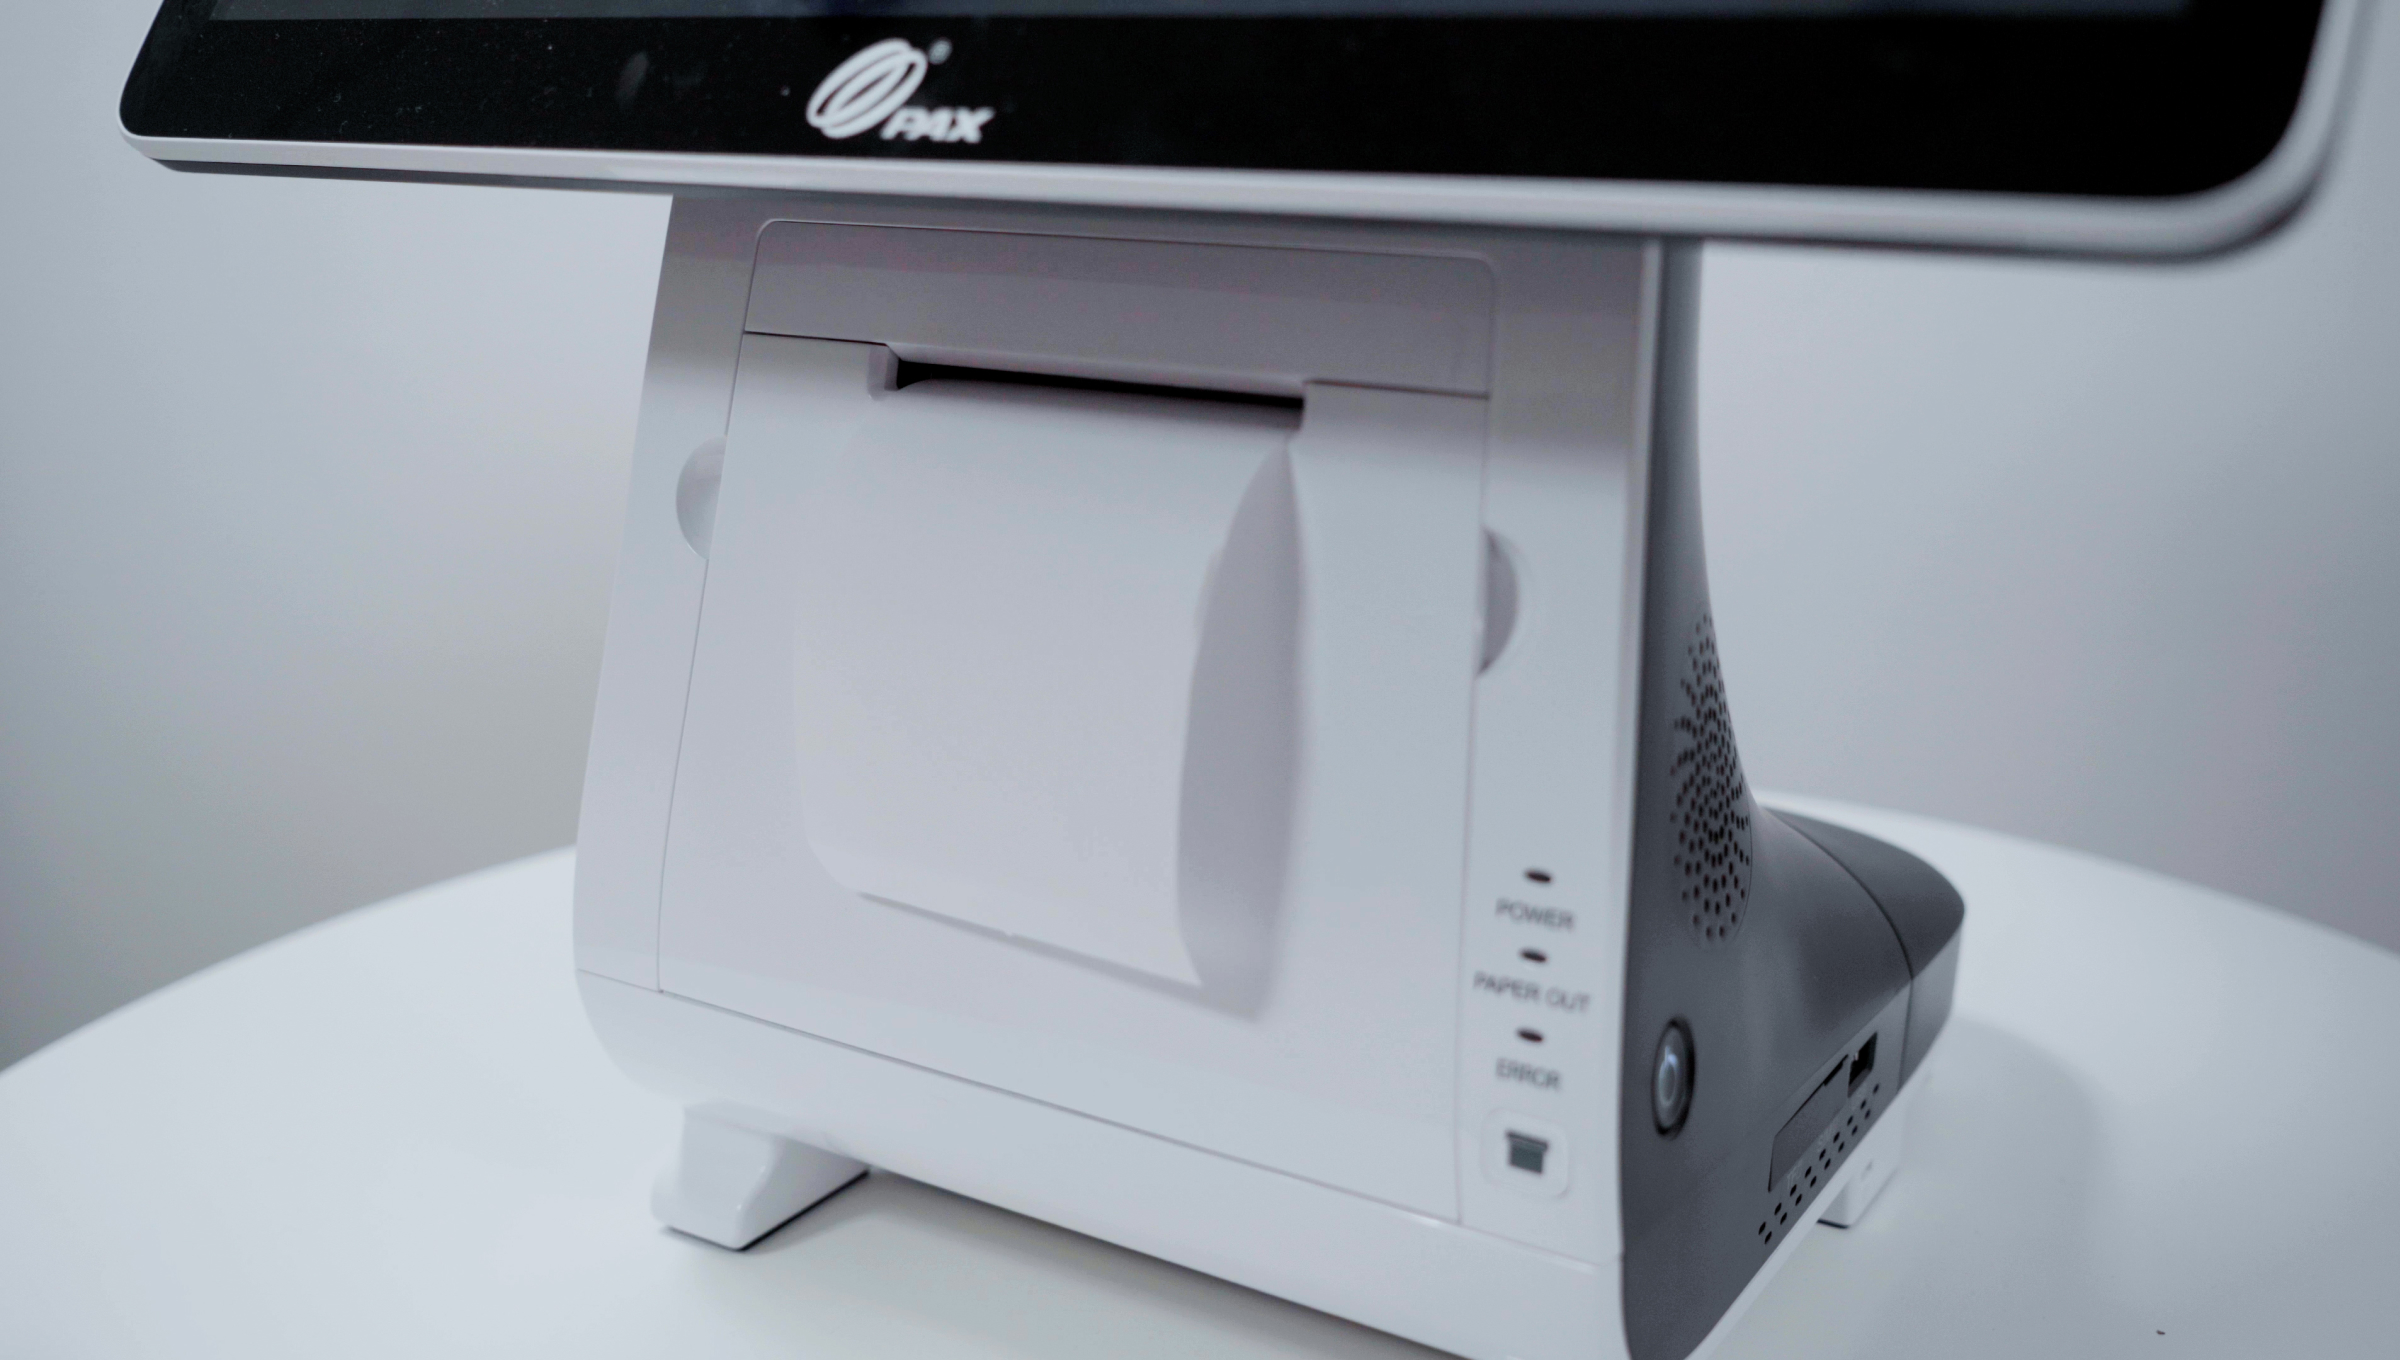
4. Close both hatches.